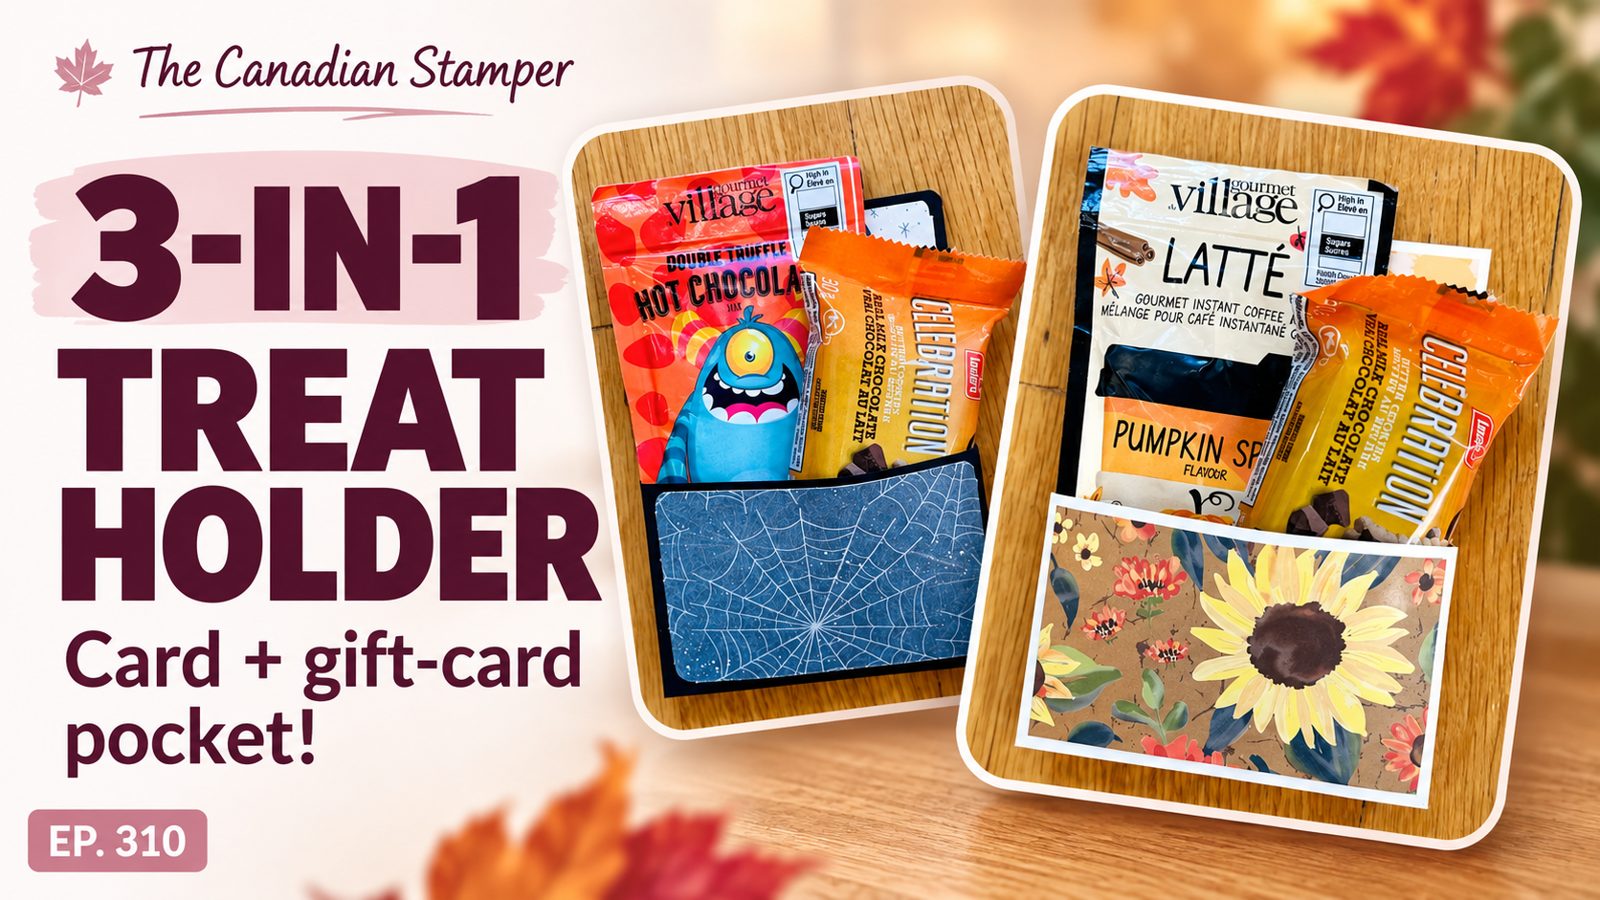
3-in-1 Treat Holder: Card + Gift Card Pocket Tutorial
One sheet of cardstock. Three jobs. This treat holder card is a handmade card with a pocket on the front for a little something to sip and nibble, and a second pocket inside for a gift card or a note.
I made two versions: a Halloween one for the kiddos and a cozy fall one for the girlfriends. Fair warning: the folding is a bit backwards. It’s also very doable, and the recipient is going to be far too busy eating the cookie to inspect your edges.
Get the Free Printable Tutorial
The PDF has the measurements, the step-by-step assembly instructions and the supply list, all in one place. It comes with my Sunday newsletter, where I share my newest tutorial, practical tips and class updates.
One Sheet of Paper, Three Jobs
A friend gave us one of these, and I couldn’t stop thinking about it. It’s a greeting card, it’s a treat holder, and it’s a gift card holder, all folded from a single sheet of cardstock.
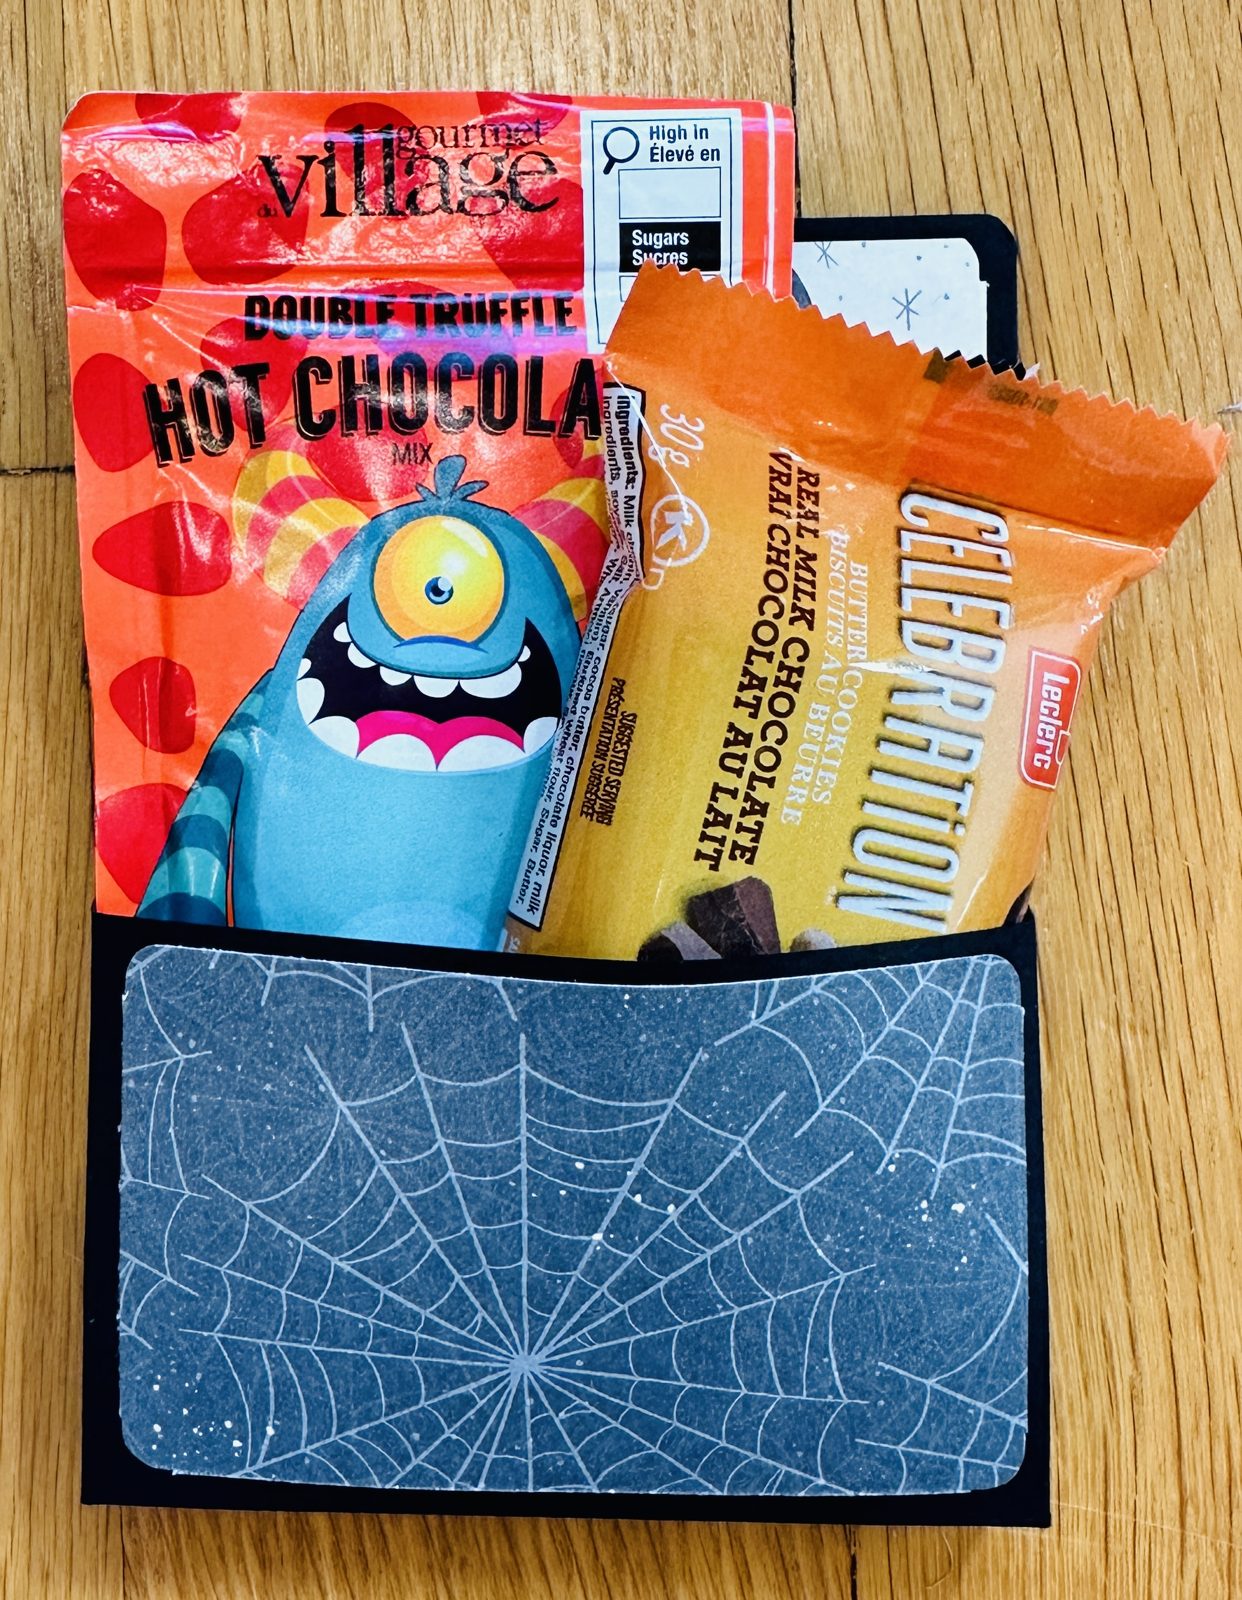
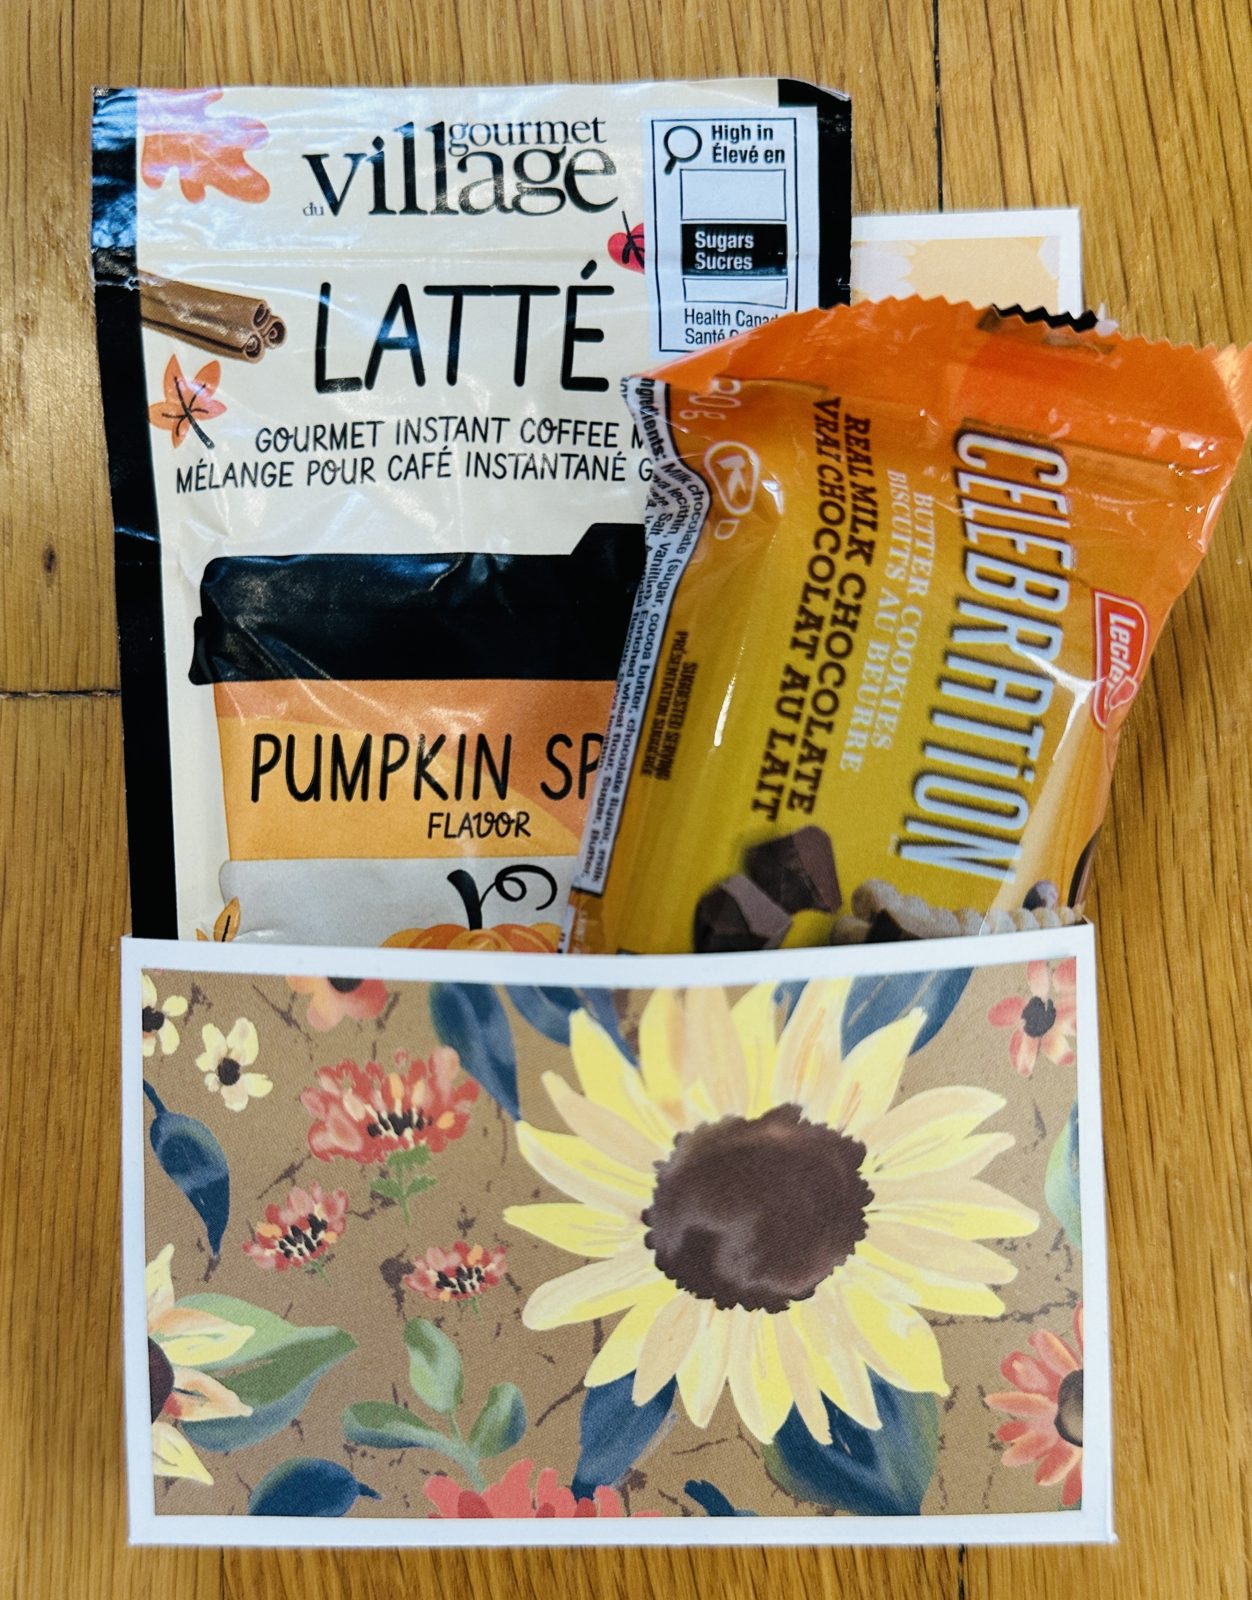
The front pocket holds a drink sachet and a wrapped cookie. Open the card and there’s a second pocket for a gift card or a little note that says “I love you” or “have a great day.” The other side of the card is where you write your message.
It’s the kind of gift that looks like you put in a lot more effort than you did. (I’ll keep that between us.)
My advice: watch the video all the way through once, then come back and make it. This is a “see it first” project.
Two Versions: Halloween and Fall
I made the Halloween treat holder with a hot chocolate packet and a cookie, keeping with the kid theme. The fall one has a pumpkin spice latte sachet, because I had my girlfriends in mind and I’m a fan of the pumpkin spice latte too.
Open It Up: The Gift Card Pocket
This is the part I love most. Inside, there’s a pocket sized for a gift card (I tucked in a Parachute ice cream card, still on theme with the kids), plus a panel on the right for your handwritten message.
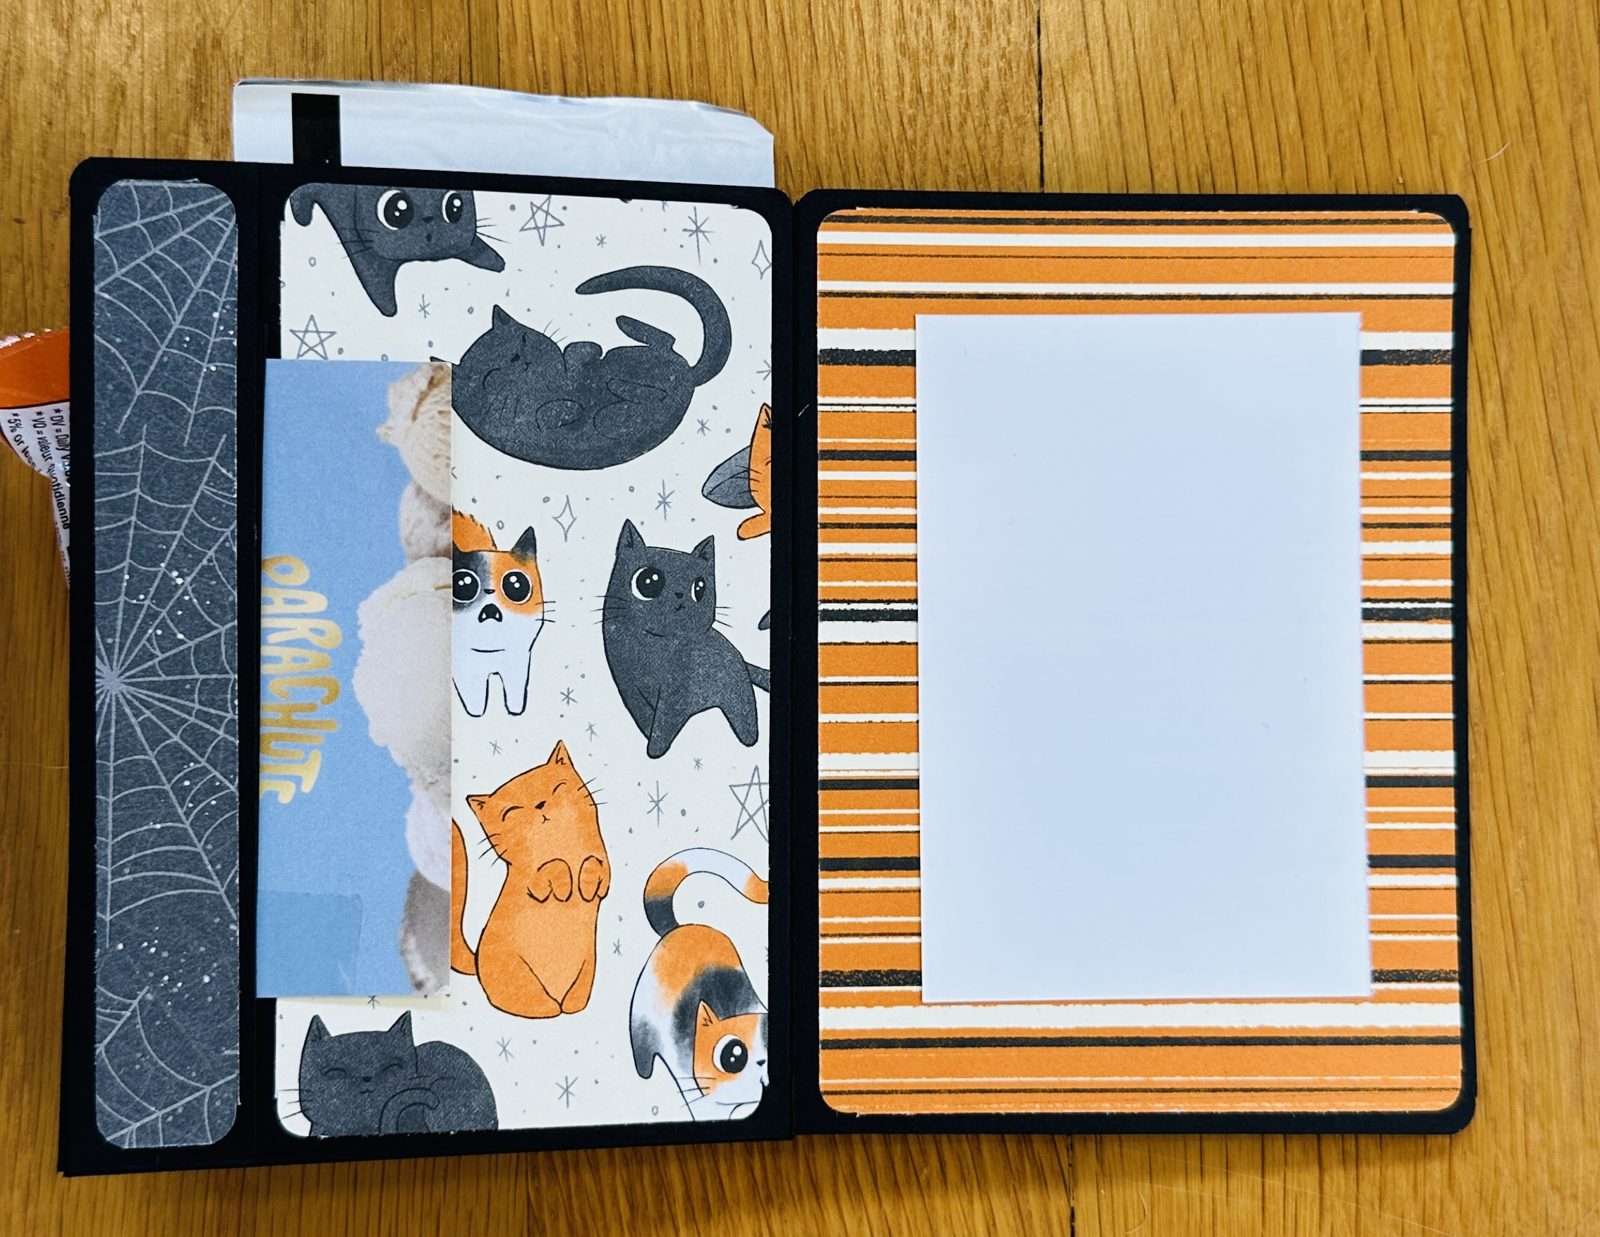
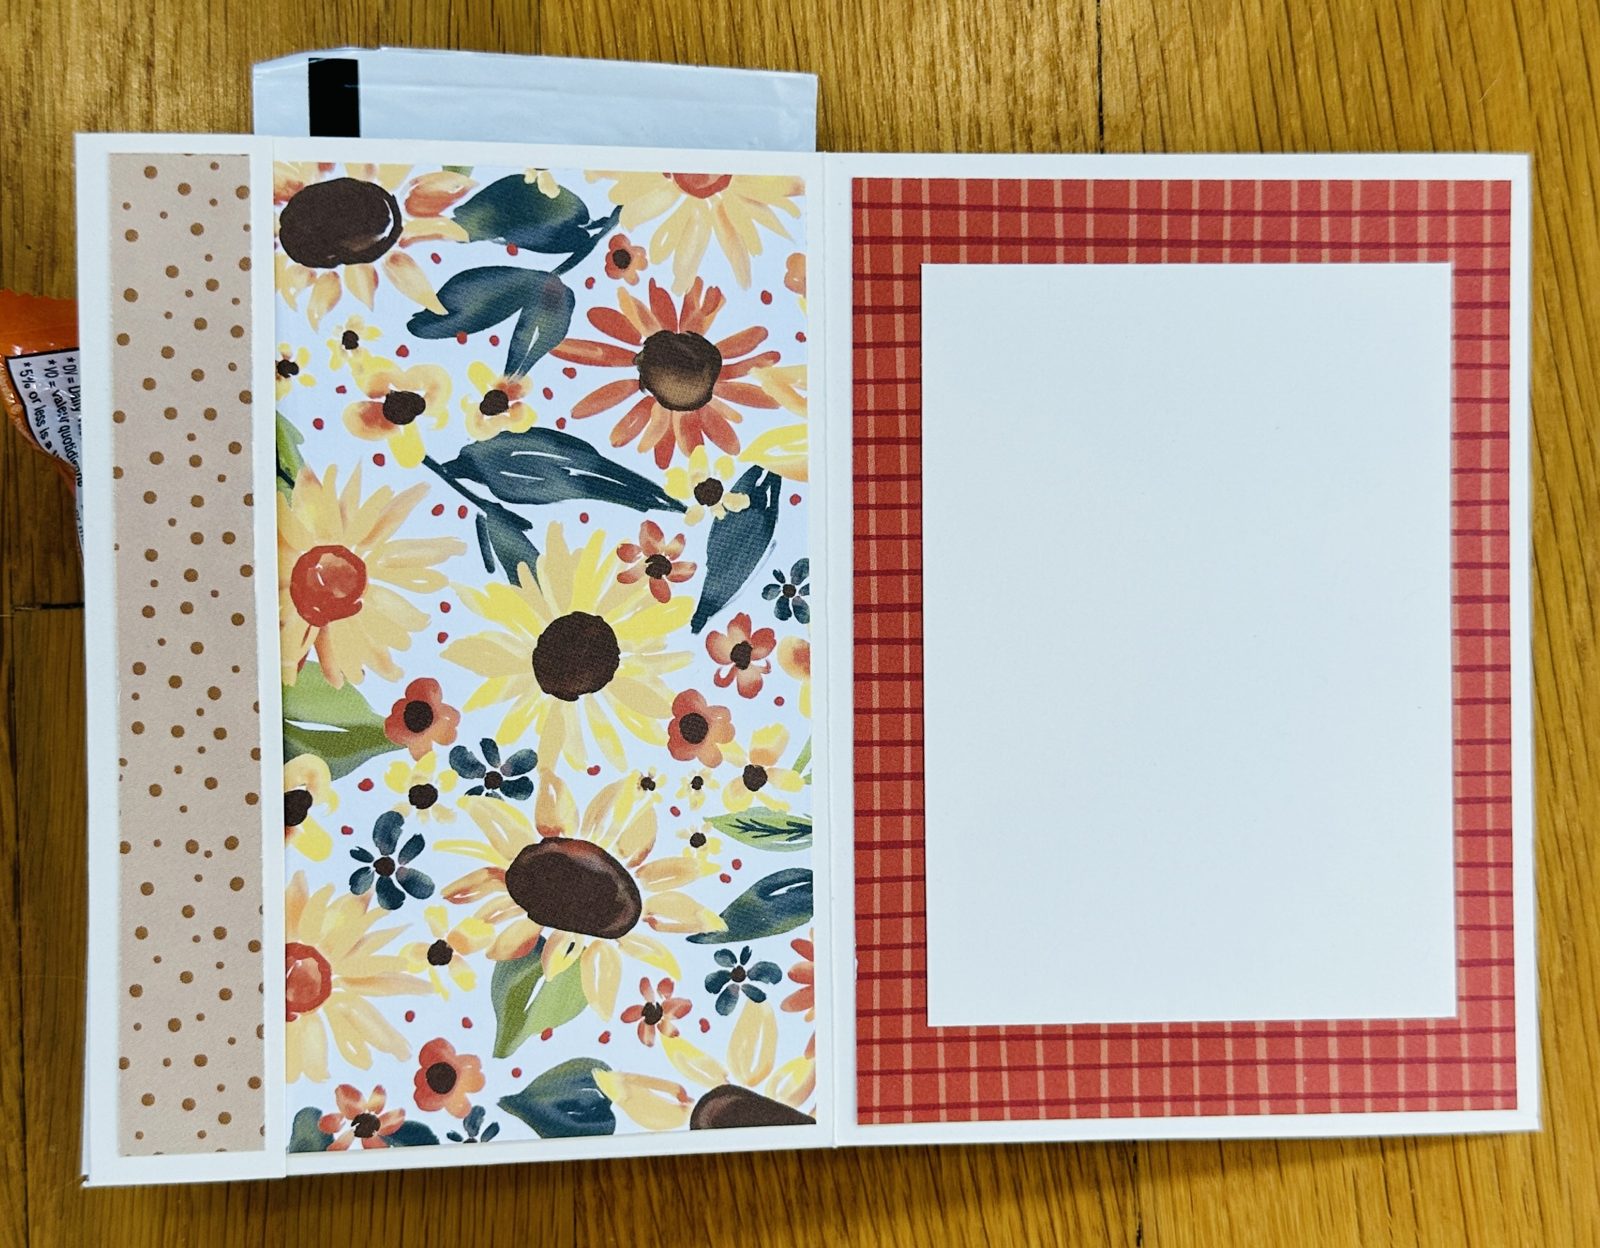
Not a gift card person? Tuck in a note, a favourite recipe, a movie ticket or a little something that says “I was thinking of you.”
The Tricky Part (Spoiler: It’s Not You)
The folding is what makes people pause, because it works a little backwards. The front section folds in to make the treat pocket, and then the remaining panels fold behind it to make the card and the inside pocket. It sounds confusing written down. It clicks the moment you see it.
That’s why I’d watch the folding section of the video before you assemble. And if you want to see how the trimming works, start here.
Tanya’s tip: Be kind to yourself. Tear & Tape gives you one go at it, so line up the sides as best you can and don’t chase perfect. A slightly wonky edge won’t spoil the joy. There are treats in there!
Trim Once, Keep the Template
Here’s my favourite part of this project. Once you’ve scored and trimmed your base, you have a template you can use again and again. Keep your first one somewhere safe, and every treat holder after that is faster.
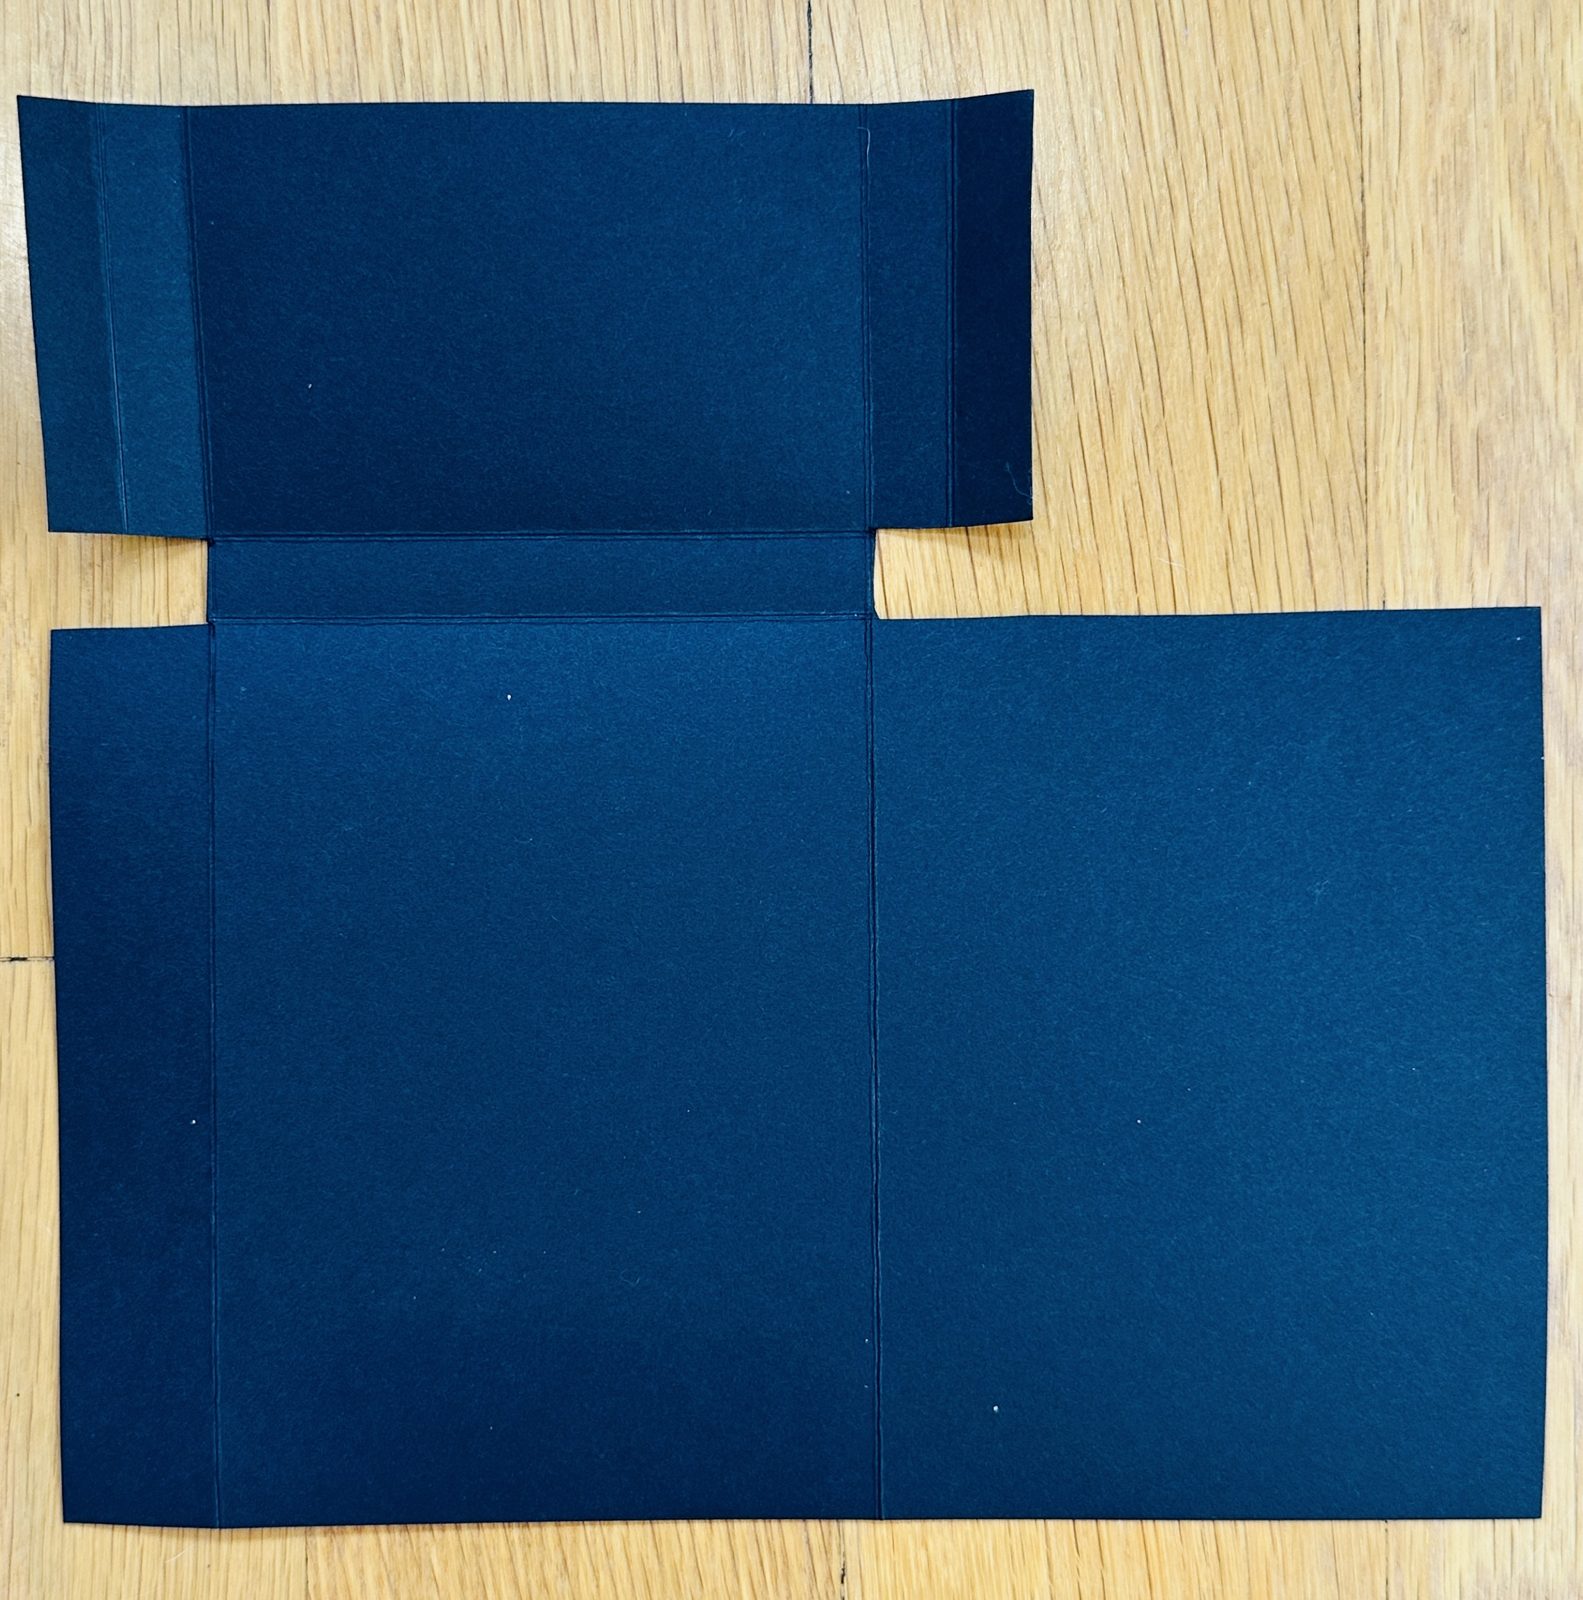
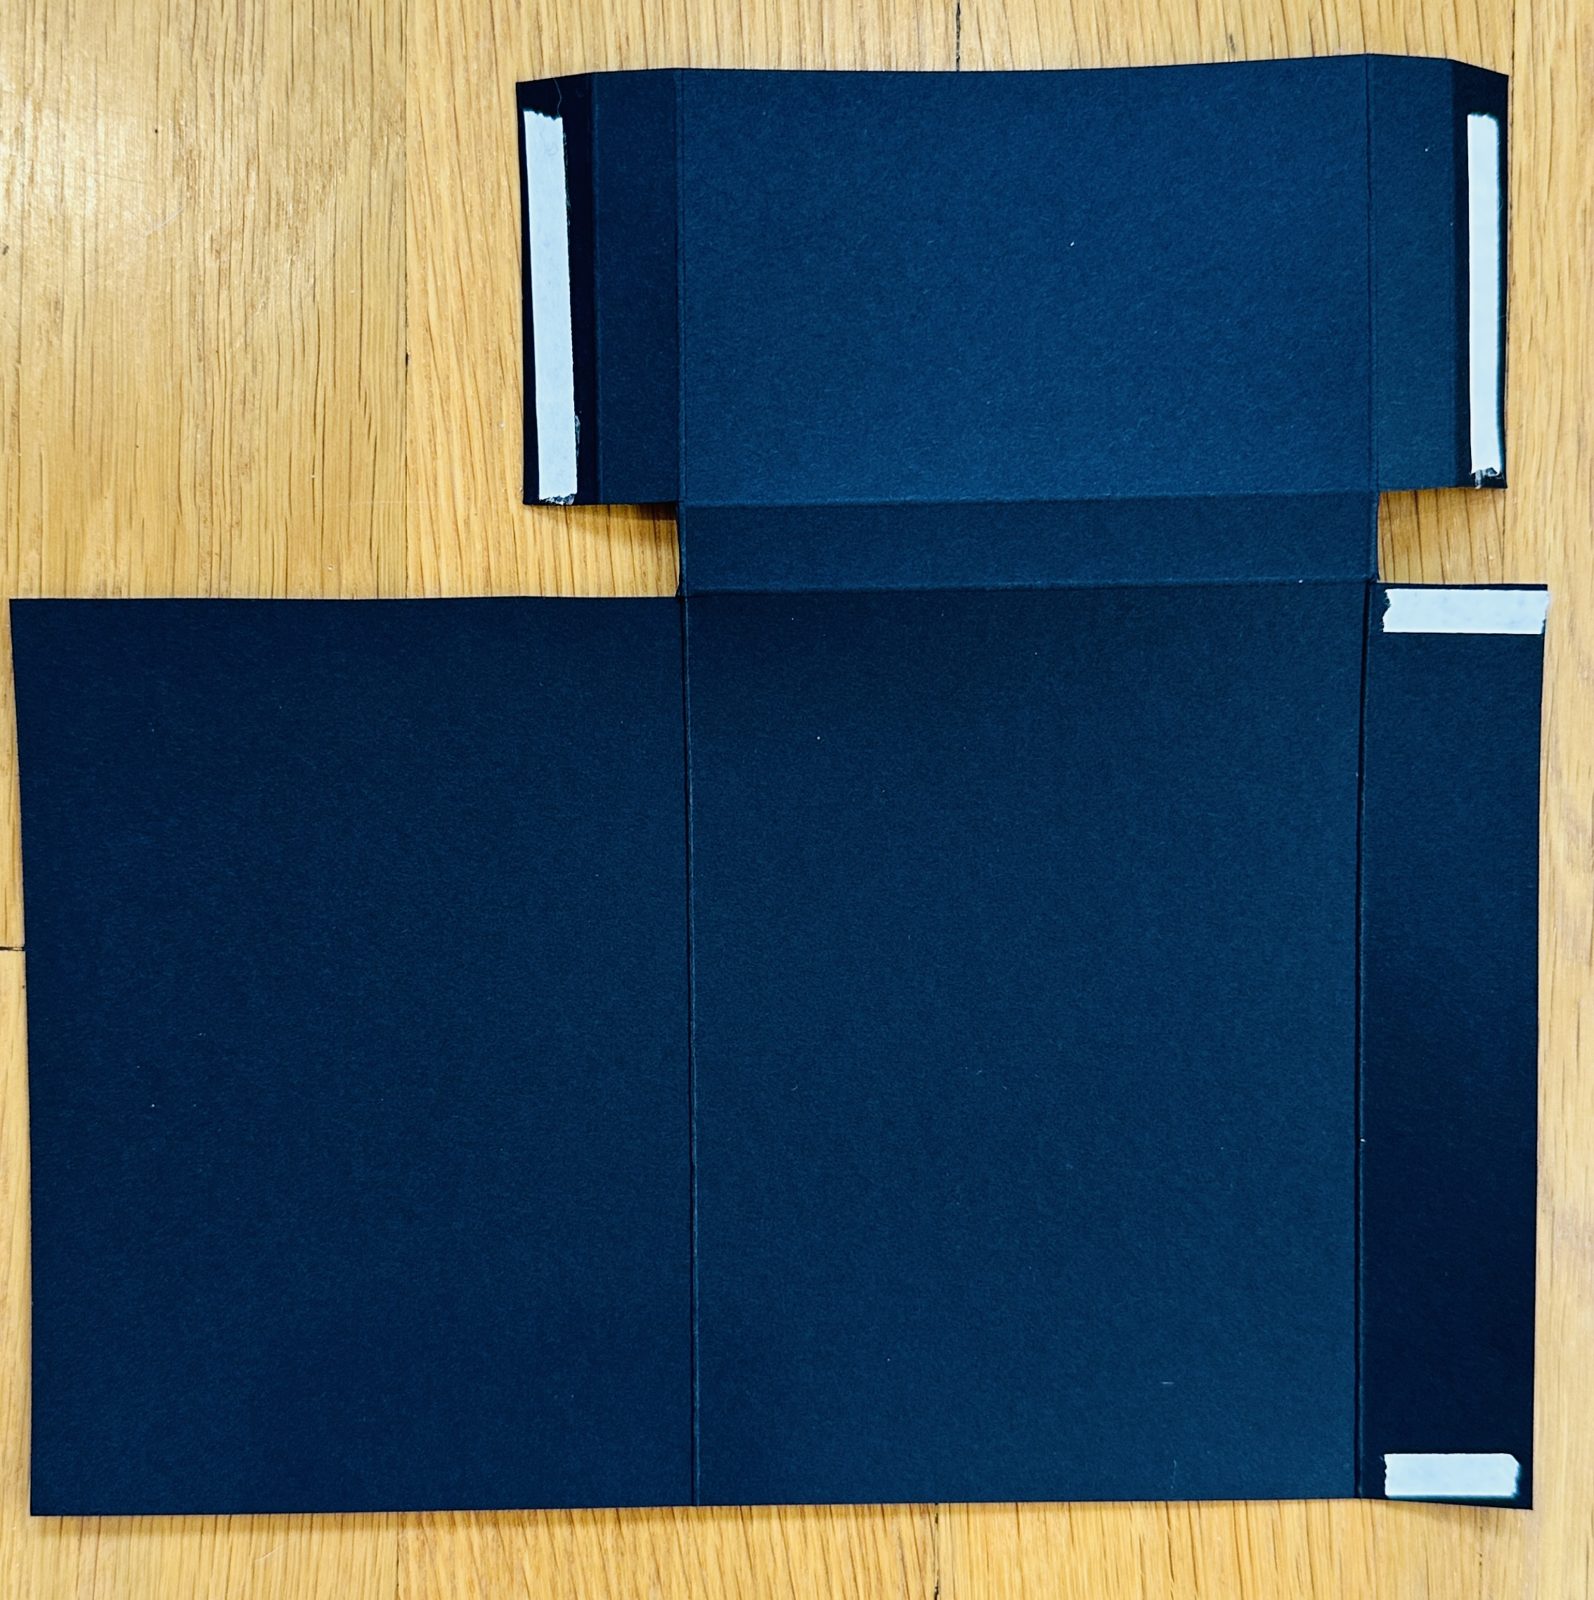
Add your adhesive to the pocket tabs, but leave the backing on until your designer series paper is glued down. Finish the decorating first, then close up the pockets. Don’t get ahead of yourself. (I say this as someone who peeled the tape too early on camera.)
The PDF has every measurement for the base and the paper layers, so you don’t have to pause the video to write them down. Grab it here.
What to Tuck Inside
Here’s what went in the fall version: a pumpkin spice latte sachet, a wrapped chocolate butter cookie (the same ones you get when you craft with me in person), and a gift card. The pocket is roomy, and if it’s a snug fit, flatten things out a little so everything sits nicely.
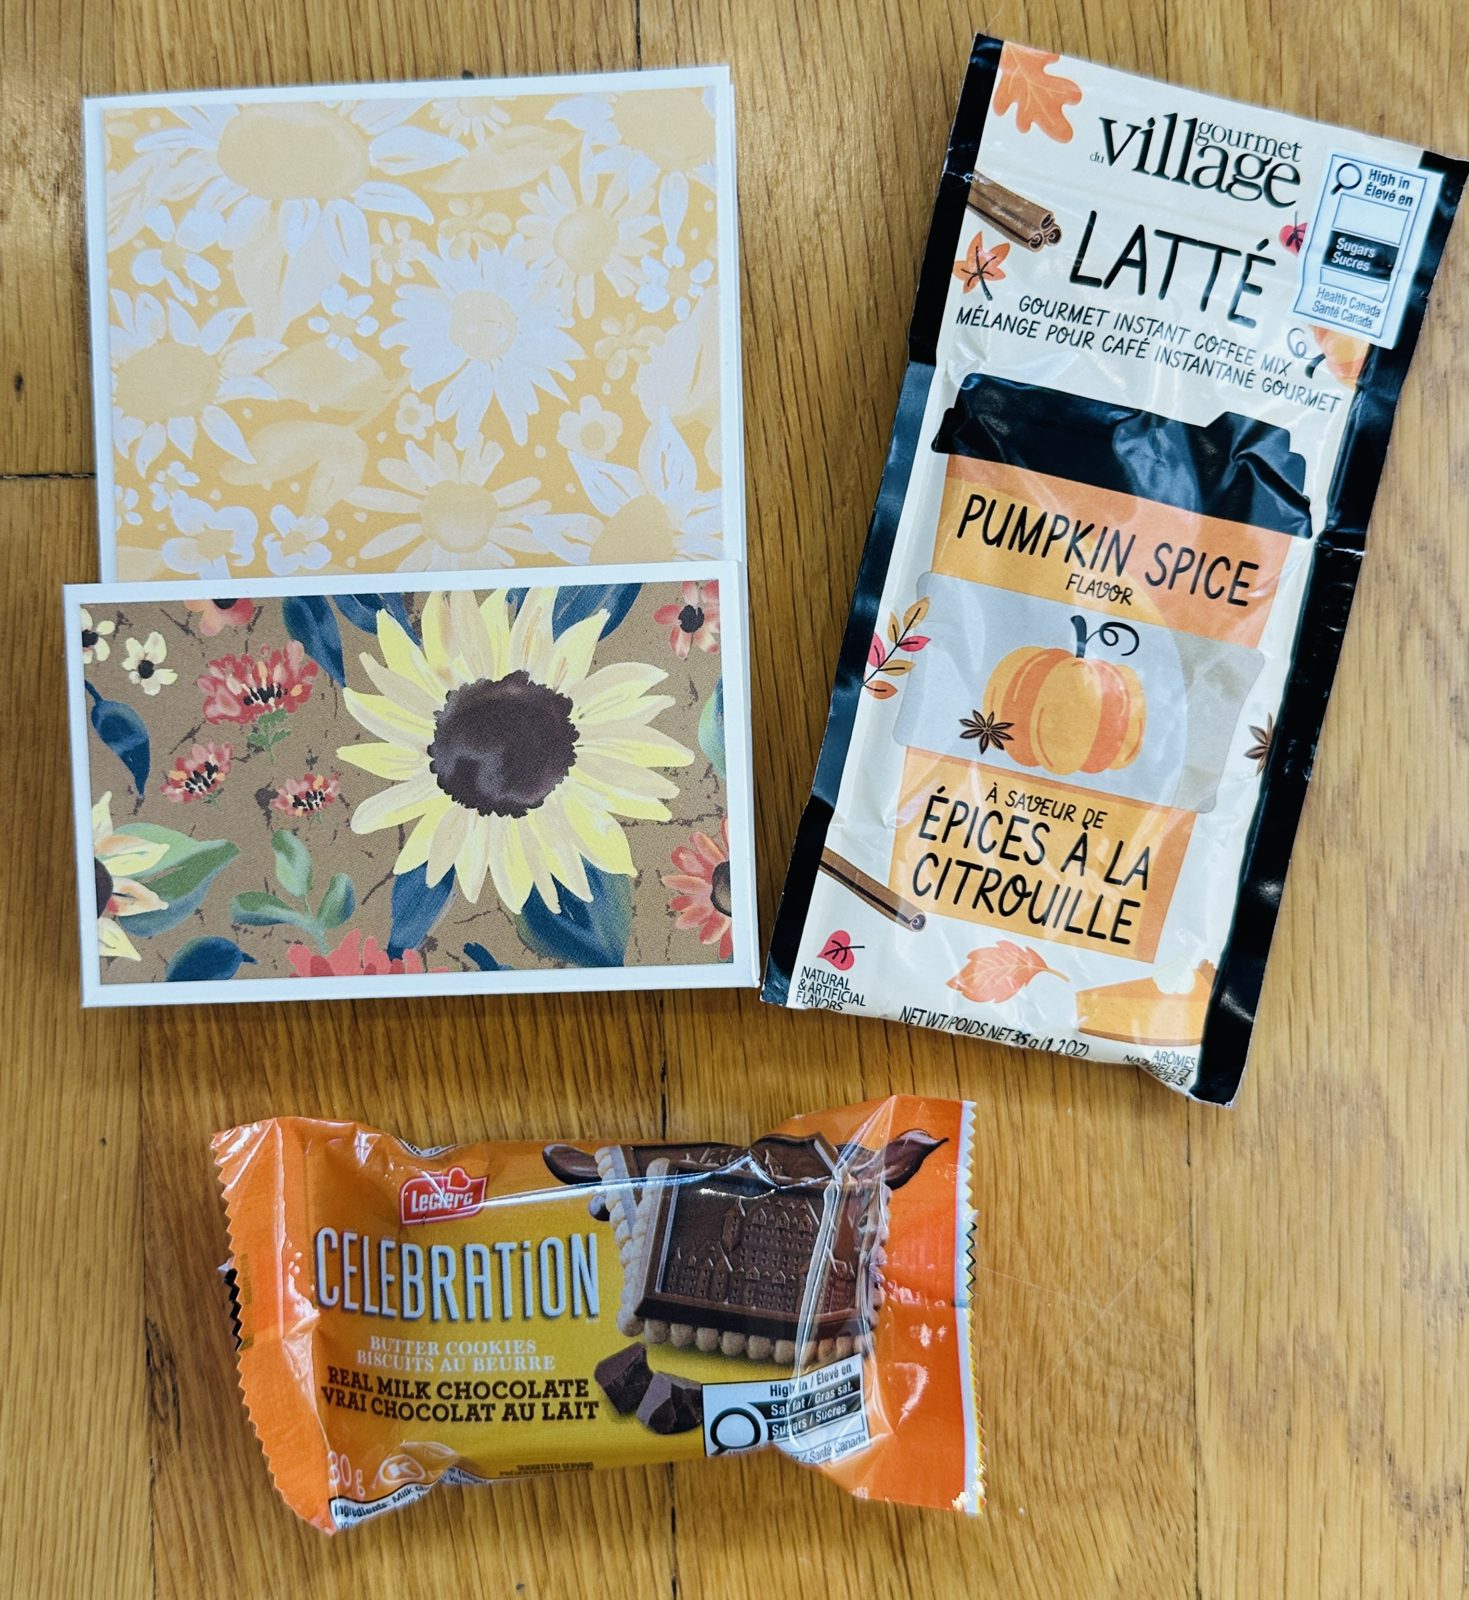
A few more ideas: tea bags and a shortbread, a candy bar for a teacher, or a coffee shop card for the friend who always needs one. Once you make a Halloween and a fall version, a Christmas one is a natural next step. Same template, different paper.
Colour Coordination: Let the Paper Do the Work
Both of these came together quickly for one reason: I stayed inside one designer series paper pack per project. When you use a full pack, the choosing is mostly done for you.
The fall version uses Sunflower Fields with warm neutrals. The Halloween version uses Frightfully Fun with black and grey. Here are the cardstock colours that pick up those papers:
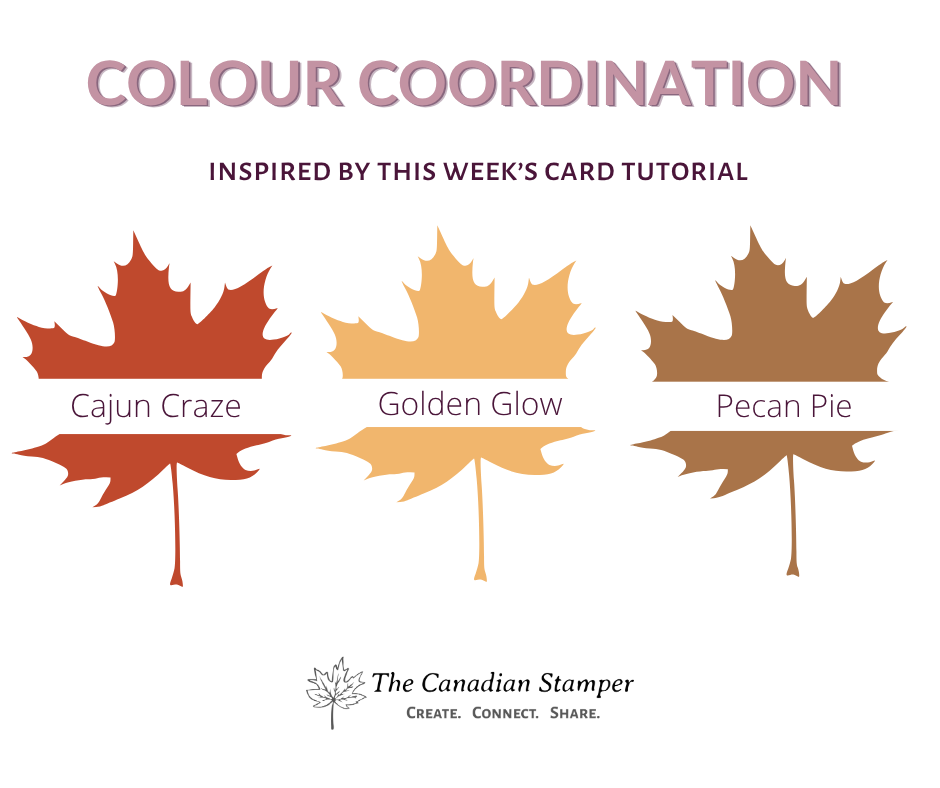
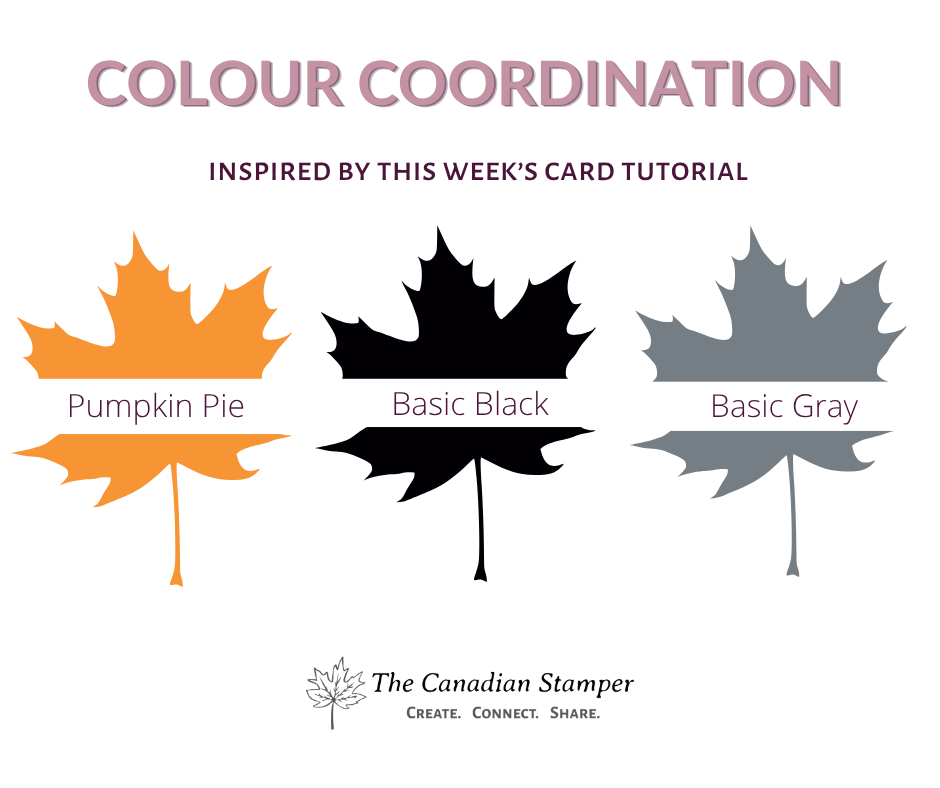
Here’s a tip that saves a lot of second-guessing: check the description of any designer series paper, or the packaging it comes in. It lists the Stampin’ Up! cardstock colours that coordinate with it. Then you can shop your stash and see what you already have. If you’re still getting to know the colours, the cardstock multipacks (two sheets of each colour) are a lovely way to build a stash and figure out your favourites. I’ve burned through a few of them.
Colour Choices Feeling Like a Lot?
If choosing colours is where you get stuck, that’s not a “you” problem. That’s a coordination problem. The No-Overwhelm Colour Coach is a free guide that helps you pick colour combinations you feel good about, without the guesswork.
Shop the Stampin’ Up! Supplies
Every product image below links directly to my Canadian Stampin’ Up! online store. Product pricing and availability can change, so please check the store listing for current details.




In Canada and love working with Stampin’ Up! supplies? Have a look at joining The Creative Canadians, my Stampin’ Up! team. Members get the demonstrator discount on everything they buy, plus a creative community to craft alongside.
Treat Holder Card: Quick Questions
What can I put inside a treat holder card?
The front pocket fits a drink sachet and a wrapped cookie or chocolate. The inside pocket is sized for a gift card or a folded note. Coffee, hot chocolate and tea packets all work well.
Is this 3-in-1 card hard to make?
The scoring and trimming are straightforward. The folding is the part to watch the video for, because it works a little backwards. Once you’ve made one, the trimmed base becomes a template that makes the next one quicker.
Can I make it for occasions other than Halloween and fall?
Yes. Swap the designer series paper and it works for Christmas, birthdays, thank-yous and teacher gifts. Keep your first trimmed base as a template so you can make more.
Where do I get the measurements and instructions?
The free printable PDF includes the measurements, step-by-step assembly instructions and the supply list. It’s available when you join The Canadian Stamper newsletter.
Do I need special tools?
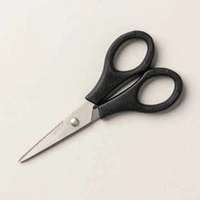
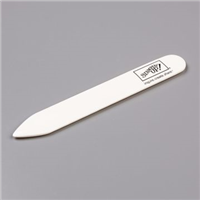
No. You need cardstock, designer series paper, Tear & Tape, a paper trimmer with a scoring blade, scissors and a bone folder.
What’s Your Next Step?
Get This Tutorial
The free printable PDF with measurements, assembly steps and the supply list, in this week’s newsletter.
Join the NewsletterCraft With Me
Come make something pretty with guidance, prepared materials and crafty company. Everything is planned. You just get to create.
See Craft & ChatNot sure where to start? Find Your Next Step will point you to the right class or tutorial. Want to go deeper on technique? Take a look at the Canadian Crafting Circle.