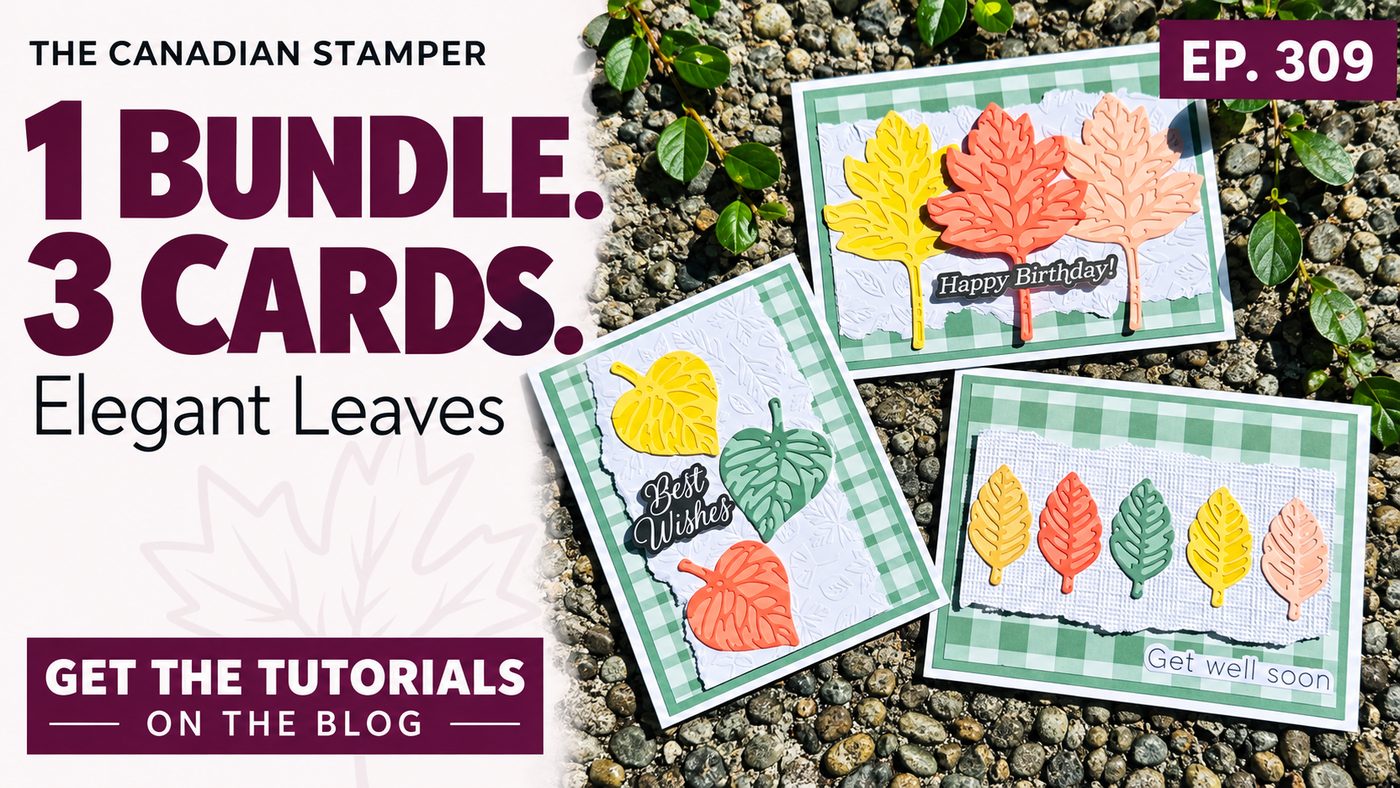
Elegant Leaves Fall Cards: 1 Bundle, 3 Easy Handmade Cards
One bundle. Three cards. Zero video this week.
It’s Thanksgiving weekend and I’m travelling, so there’s no video for Episode 309. Instead, I’ve put the whole tutorial right here on the blog: measurements, step-by-step instructions, colour combinations and a full supply list. Consider it the extra-value version.
The Elegant Leaves Bundle gives you beautifully detailed, two-tone die-cut leaves. Layer them onto a torn, embossed panel with a little gingham, and you get fall cards that look like you fussed for hours. (You didn’t. We won’t tell.)
Get the Free PDF Tutorial
Keep the measurements and assembly steps handy while you craft.
One Layout, Three Cards
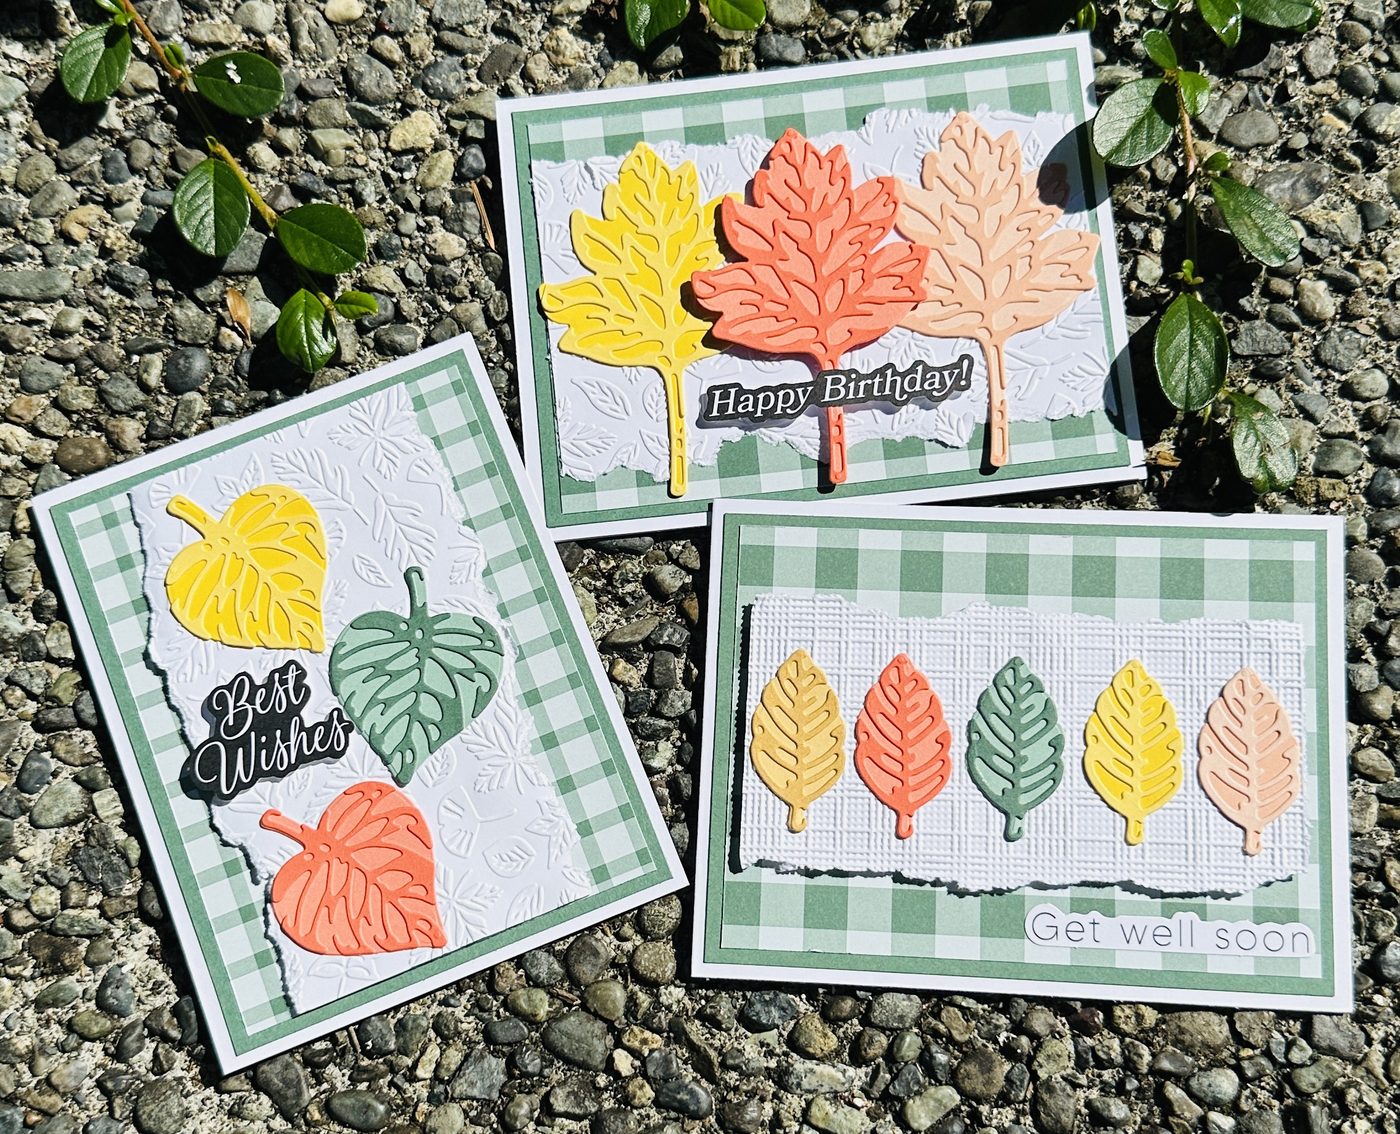
All three cards follow the same recipe: a Peaceful Pine layer, a gingham panel, a torn and embossed white panel, then leaves on top. Change the leaf shapes, the colours and the sentiment, and each card feels completely different.
You don’t need three designs. You need one layout you trust.
Card Measurements
- Basic White card base: any standard size you prefer (the layers below are sized to sit on a standard A2 base)
- Peaceful Pine layer (all cards): 4″ × 5¼″
- 2026–2028 In Color Gingham Designer Series Paper: 3¾″ × 5″. All three designs use either side of the paper.
- Basic White embossed panels: 4¾″ × 3″ and 5″ × 3″
- Leaves: die cut from Heirloom Boutique Two-Tone Cardstock (colours for each card are below)
How to Make the Cards
- Cut, score and fold your Basic White card base.
- Adhere the Peaceful Pine layer to the card base.
- Adhere the Gingham DSP on top of the Peaceful Pine layer.
- Emboss your Basic White panel with your favourite embossing folder, or use the ones I did: Seasonal Cheer or Softly Woven. Tear the long side of the embossed piece, top and bottom.
- Use Stampin’ Dimensionals to adhere the torn, embossed panel to the card front.
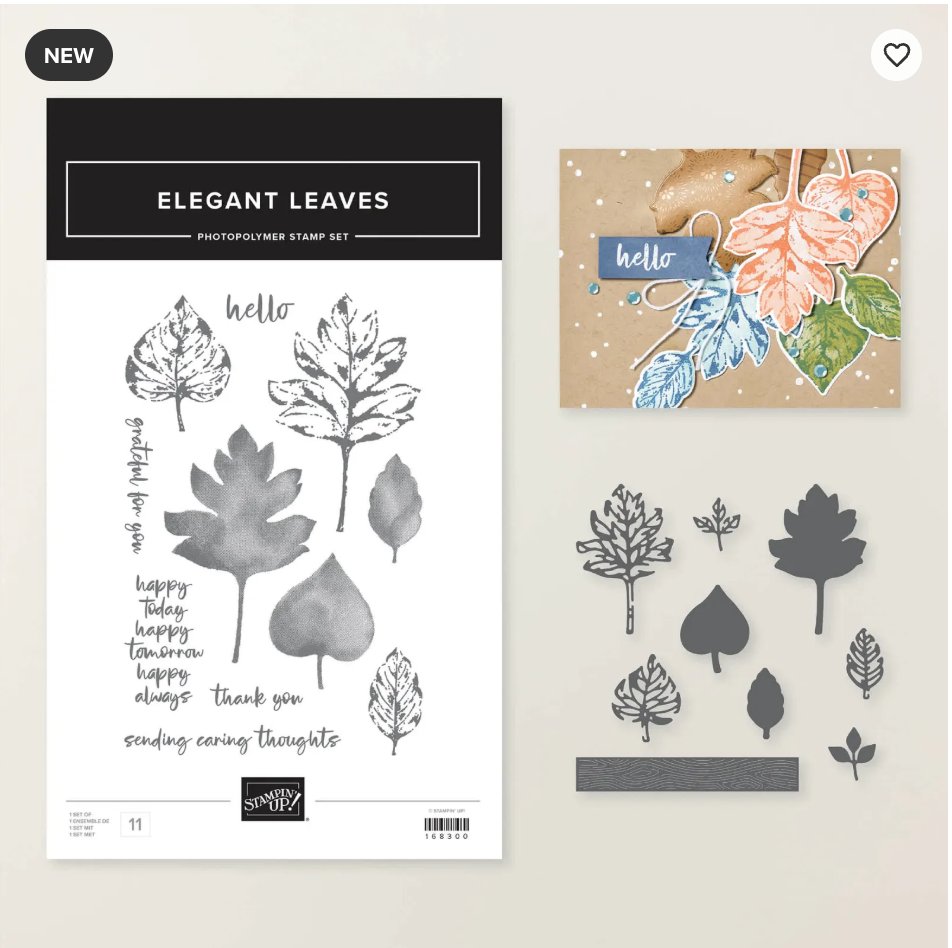
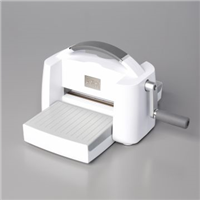
- Using the Stampin’ Cut & Emboss Machine, your two-tone cardstock colours and the Elegant Leaves dies, cut the base and the detailed top layer of each leaf you want.
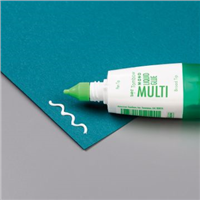
- Use a fine-tip glue applicator to attach each leaf top to its base. Let them dry.
- Decide whether you want your leaves flat or dimensional. Try gluing two leaves down with liquid glue, then popping one up on Dimensionals as your focal leaf.
- Choose a greeting from the Greetings For All Mix & Match Ephemera Pack and attach it with liquid glue or Dimensionals.
Fair warning: let those little leaves dry completely before you move them. Wet glue and delicate die cuts are not friends.
Meet the Three Cards
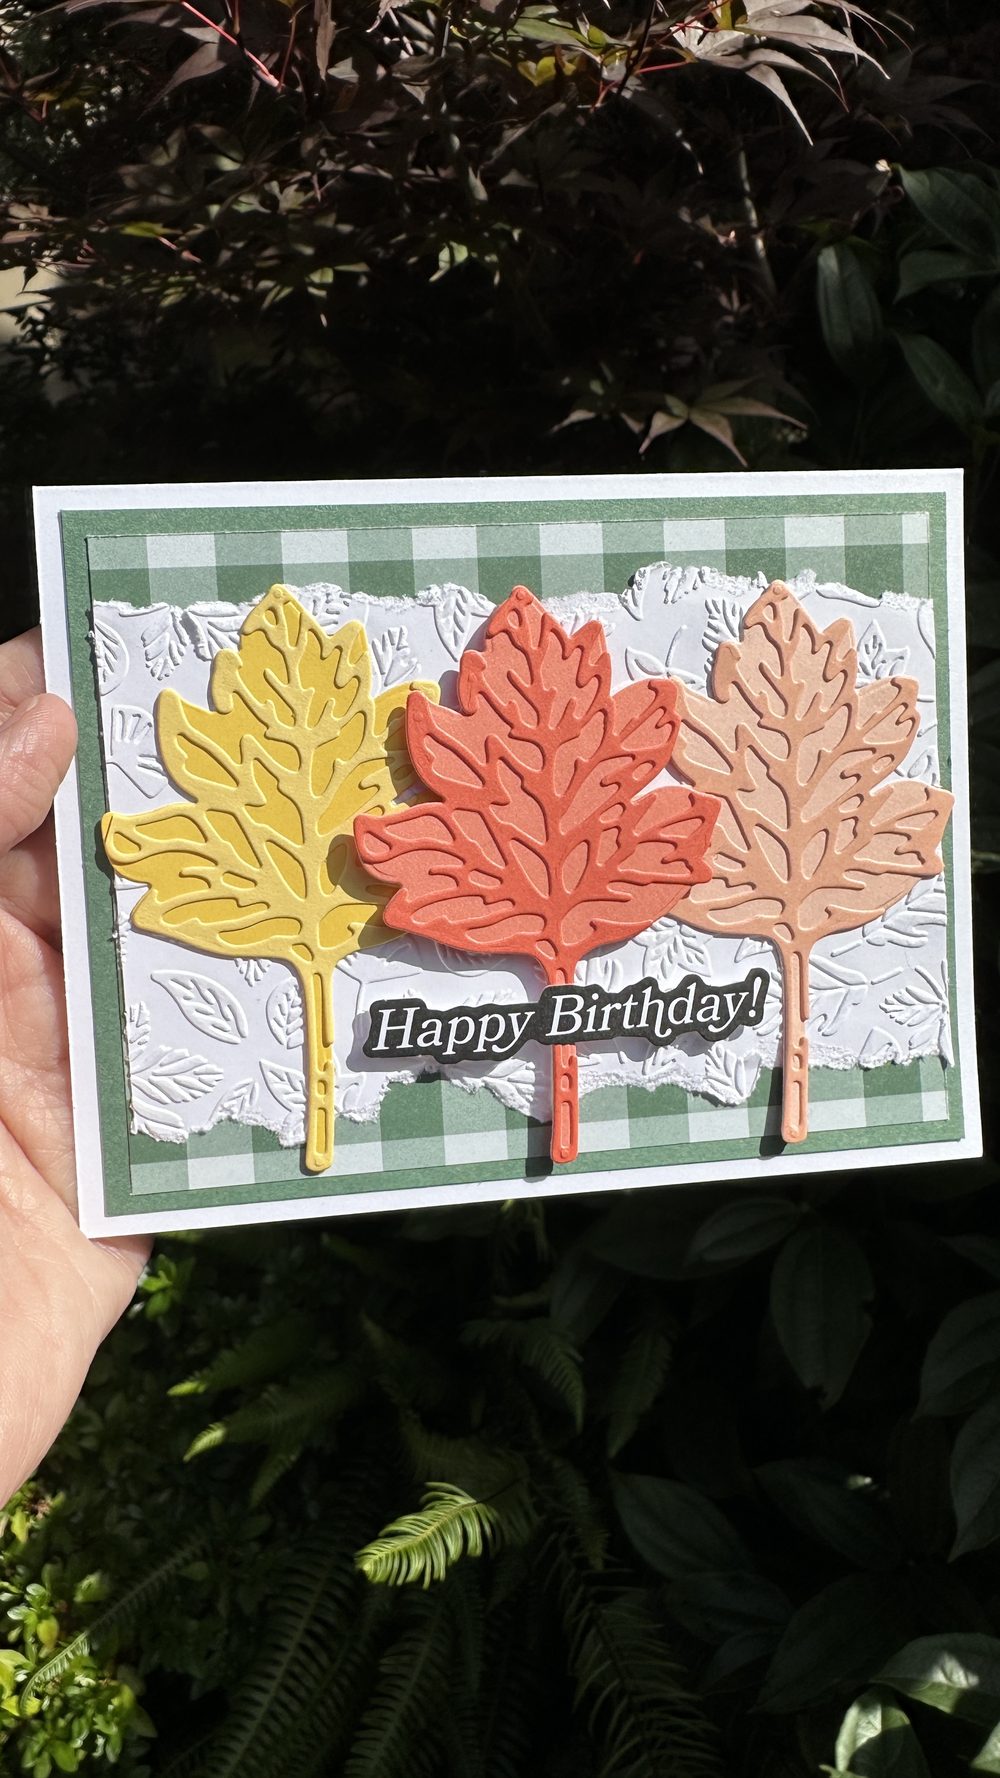
Card 1: Happy Birthday
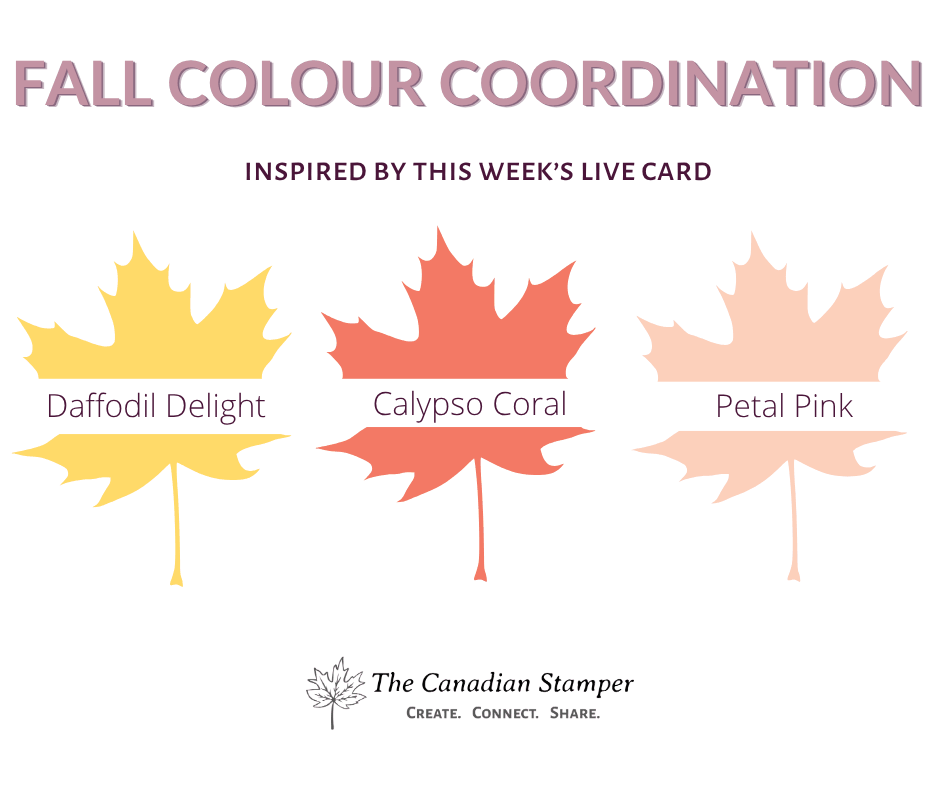
Three big, bold leaves in Daffodil Delight, Calypso Coral and Petal Pink layer over a torn Seasonal Cheer embossed panel. Overlapping the leaves makes one confident cluster, and the greeting tucks in underneath.
Card 2: Best Wishes
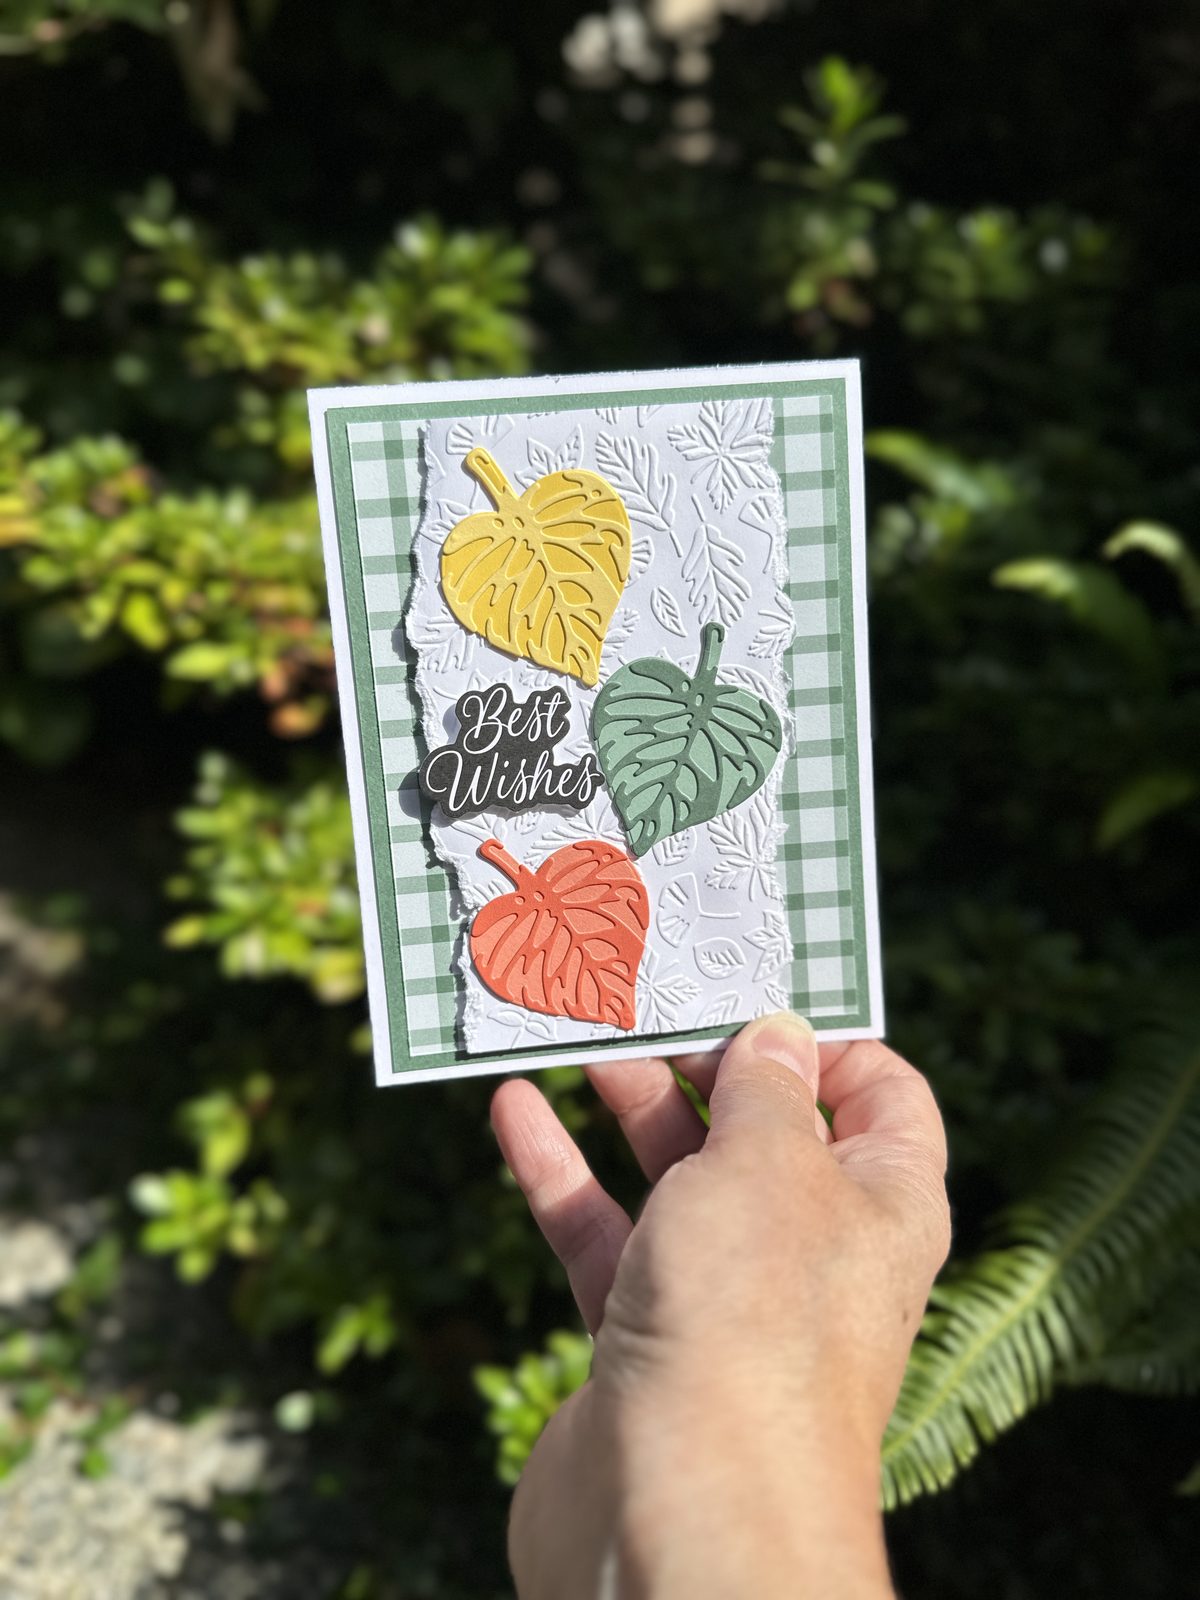
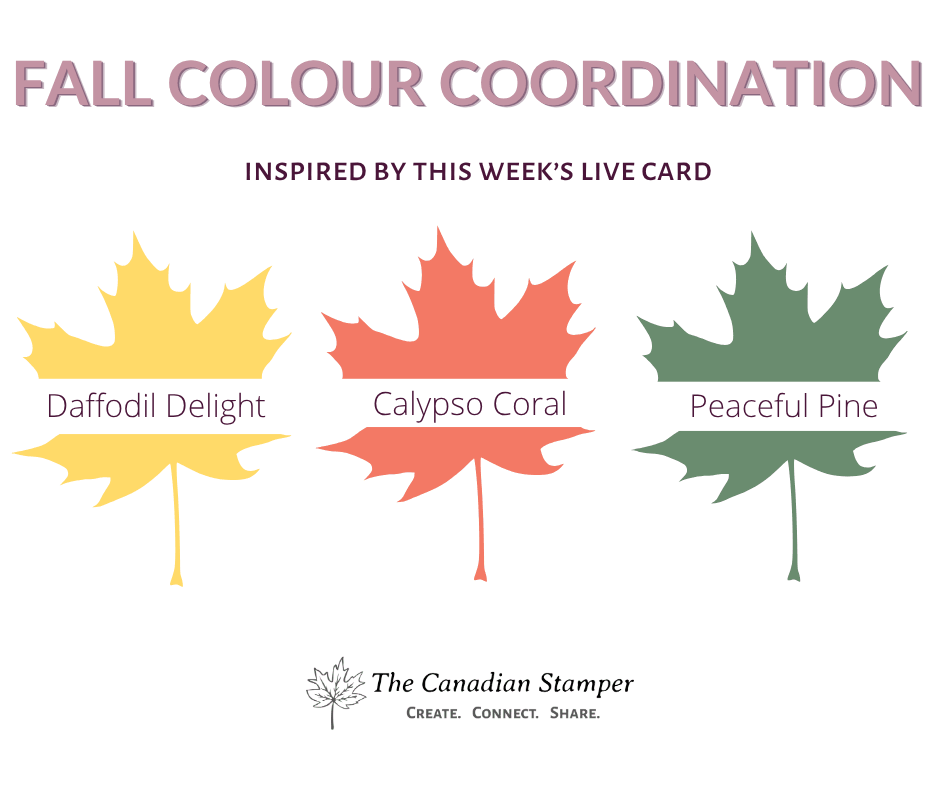
This one goes vertical. Three heart-shaped leaves in Daffodil Delight, Peaceful Pine and Calypso Coral tumble down a torn Seasonal Cheer panel, with the Best Wishes greeting tucked in beside them. The Peaceful Pine leaf echoes the card’s green layers, so it feels planned (because it is).
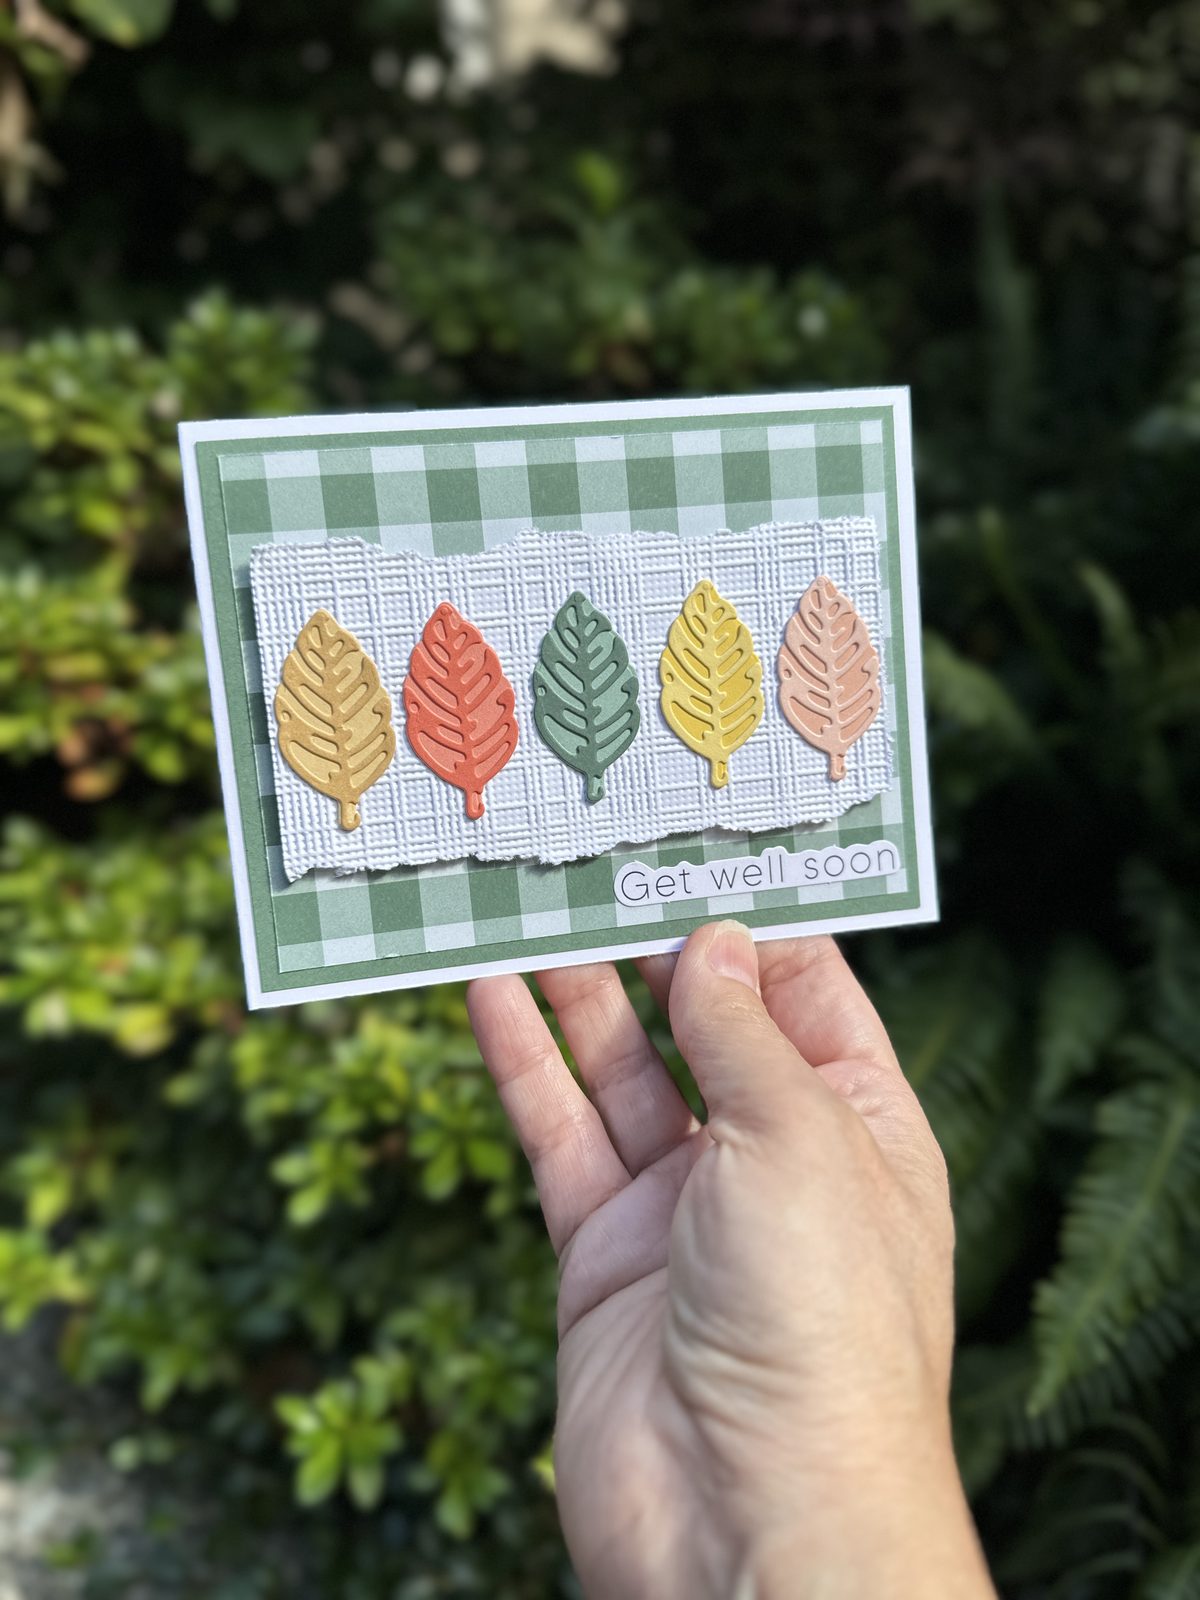
Card 3: Get Well Soon
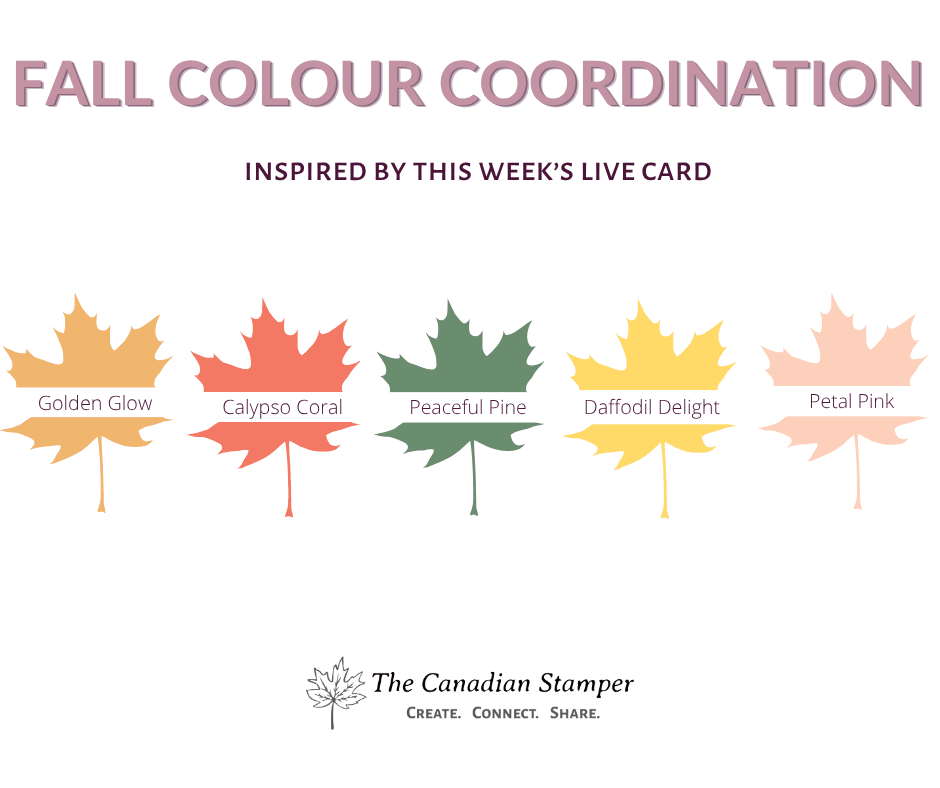
Five slim leaves march across a torn Softly Woven panel in Golden Glow, Calypso Coral, Peaceful Pine, Daffodil Delight and Petal Pink. It’s the full fall palette in one row, and a simple sentiment keeps it calm and cheerful.
Why These Colours Work Together
Notice how the same colours keep showing up across the cards? Calypso Coral appears in all three, and Peaceful Pine ties every card back to the gingham. Stampin’ Up! colours coordinate across cardstock, paper and more, so you can stop holding almost-matching shades up to the window and hoping for the best.
That’s not a “you” problem. That’s a coordination problem.
Still Second-Guessing Your Colours?
Start with my free No-Overwhelm Colour Coach and make coordinating your card supplies much easier.
Elegant Leaves Fall Cards: Quick Questions
Do I need the stamp set to make these cards?
Not for these three. They use the dies from the Elegant Leaves Bundle. The bundle also includes the coordinating stamp set for when you want to try it.
Which embossing folders did you use?
Seasonal Cheer for Happy Birthday and Best Wishes, and Softly Woven for Get Well Soon. Any embossing folder you already own will work, so use your favourite.
How do I get the leaves to stand out?
Adhere most leaves with liquid glue and pop one up on Stampin’ Dimensionals as your focal point. You get depth without a lot of extra effort.
Can I change the colours?
Yes. The layout stays the same, so swap in any two-tone colours you love. The Colour Coach is a good place to start if you want help choosing.
Where can I get the printable measurements?
Download the free Episode 309 PDF tutorial here.
Three Cards, One Bundle
The best supplies are the ones you can use more than one way. One bundle, one layout and a few colour swaps give you birthday, best wishes and get well cards, all ready to send.
Nailed it.
If you make one of these, tell me in the comments: which card would you make first?
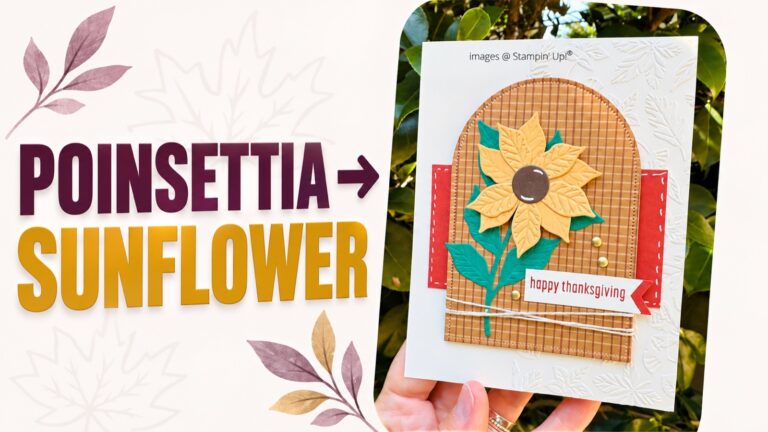
Looking for another fall idea? Try my fall sunflower card made with poinsettia dies. Not sure what to make next? Find Your Next Step will point you to the right class, workshop or tutorial for right where you’re at.
Shop the Stampin’ Up! Supplies
Every product below links directly to my Canadian Stampin’ Up! online store. Pricing and availability can change, so please check the store listing for current details. And if you find yourself ordering supplies often, you might like the demonstrator discount and community of The Creative Canadians.



Price: $17.00


Some product links may be affiliate links. When you shop through my links, I may receive a commission at no additional cost to you. Thank you for supporting The Canadian Stamper.
Happy crafting!
Tanya — The Canadian Stamper
Create. Connect. Share.