Stamp Over Hot Foil! Botanical Glow Card Tutorial | Ep. 308
This Thinking of You hot foil card is proof that you don’t need a lot of layers, a lot of supplies or a lot of time to make something that looks like it came from a boutique stationery shop. The star is silver hot foil. The supporting cast is the Botanical Glow bundle from Stampin’ Up!, three coordinating colours, and one fun twist: we’re stamping over the foil. Nailed it.
Every Saturday morning I craft one project live. The measurements and the matching PDF for this card are free: grab the Episode 308 PDF here. Everything else (the colours, the supplies and why this simple design works) is right here on this page.
Why this card works (and why foil is the star)
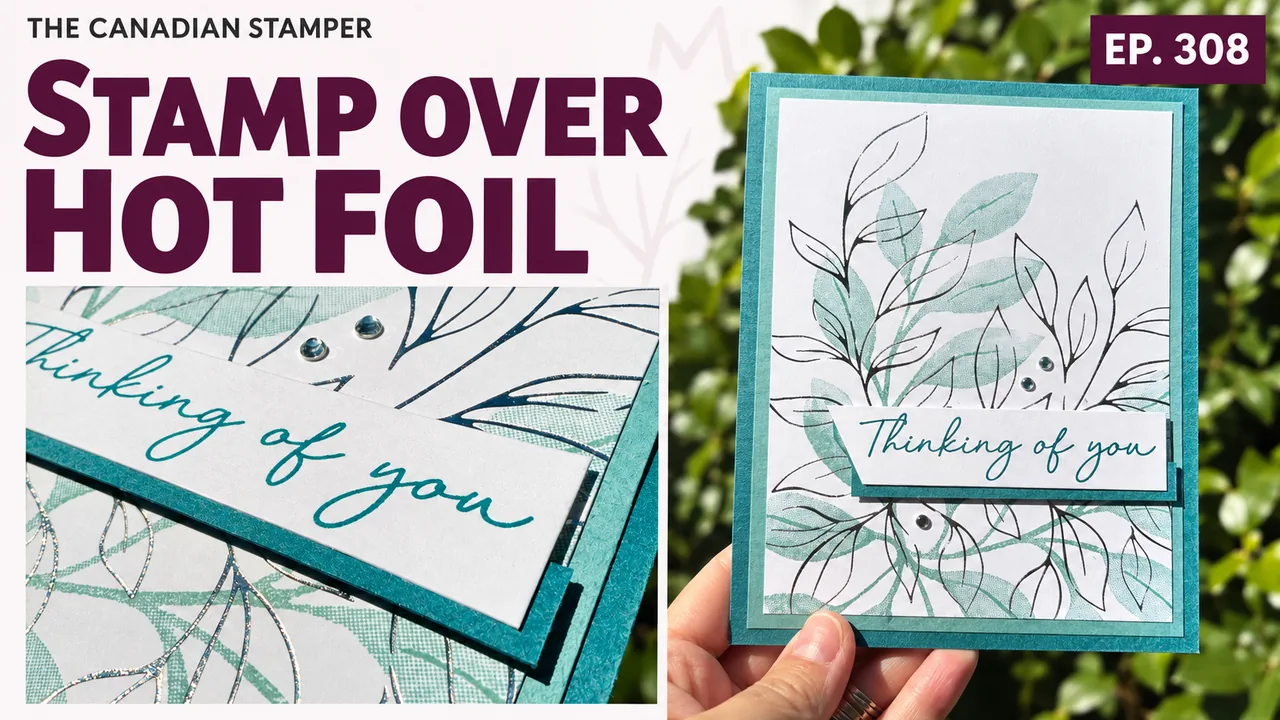
Here’s what I love about this design: it’s simple on purpose. One big, beautiful foiled panel, soft stamped leaves behind and around it, a clean sentiment banner, and two tiny rhinestones. I even talked myself out of adding ribbon, because it would have taken attention away from the foil. That’s the whole design lesson: decide what the star is, then let everything else support it.
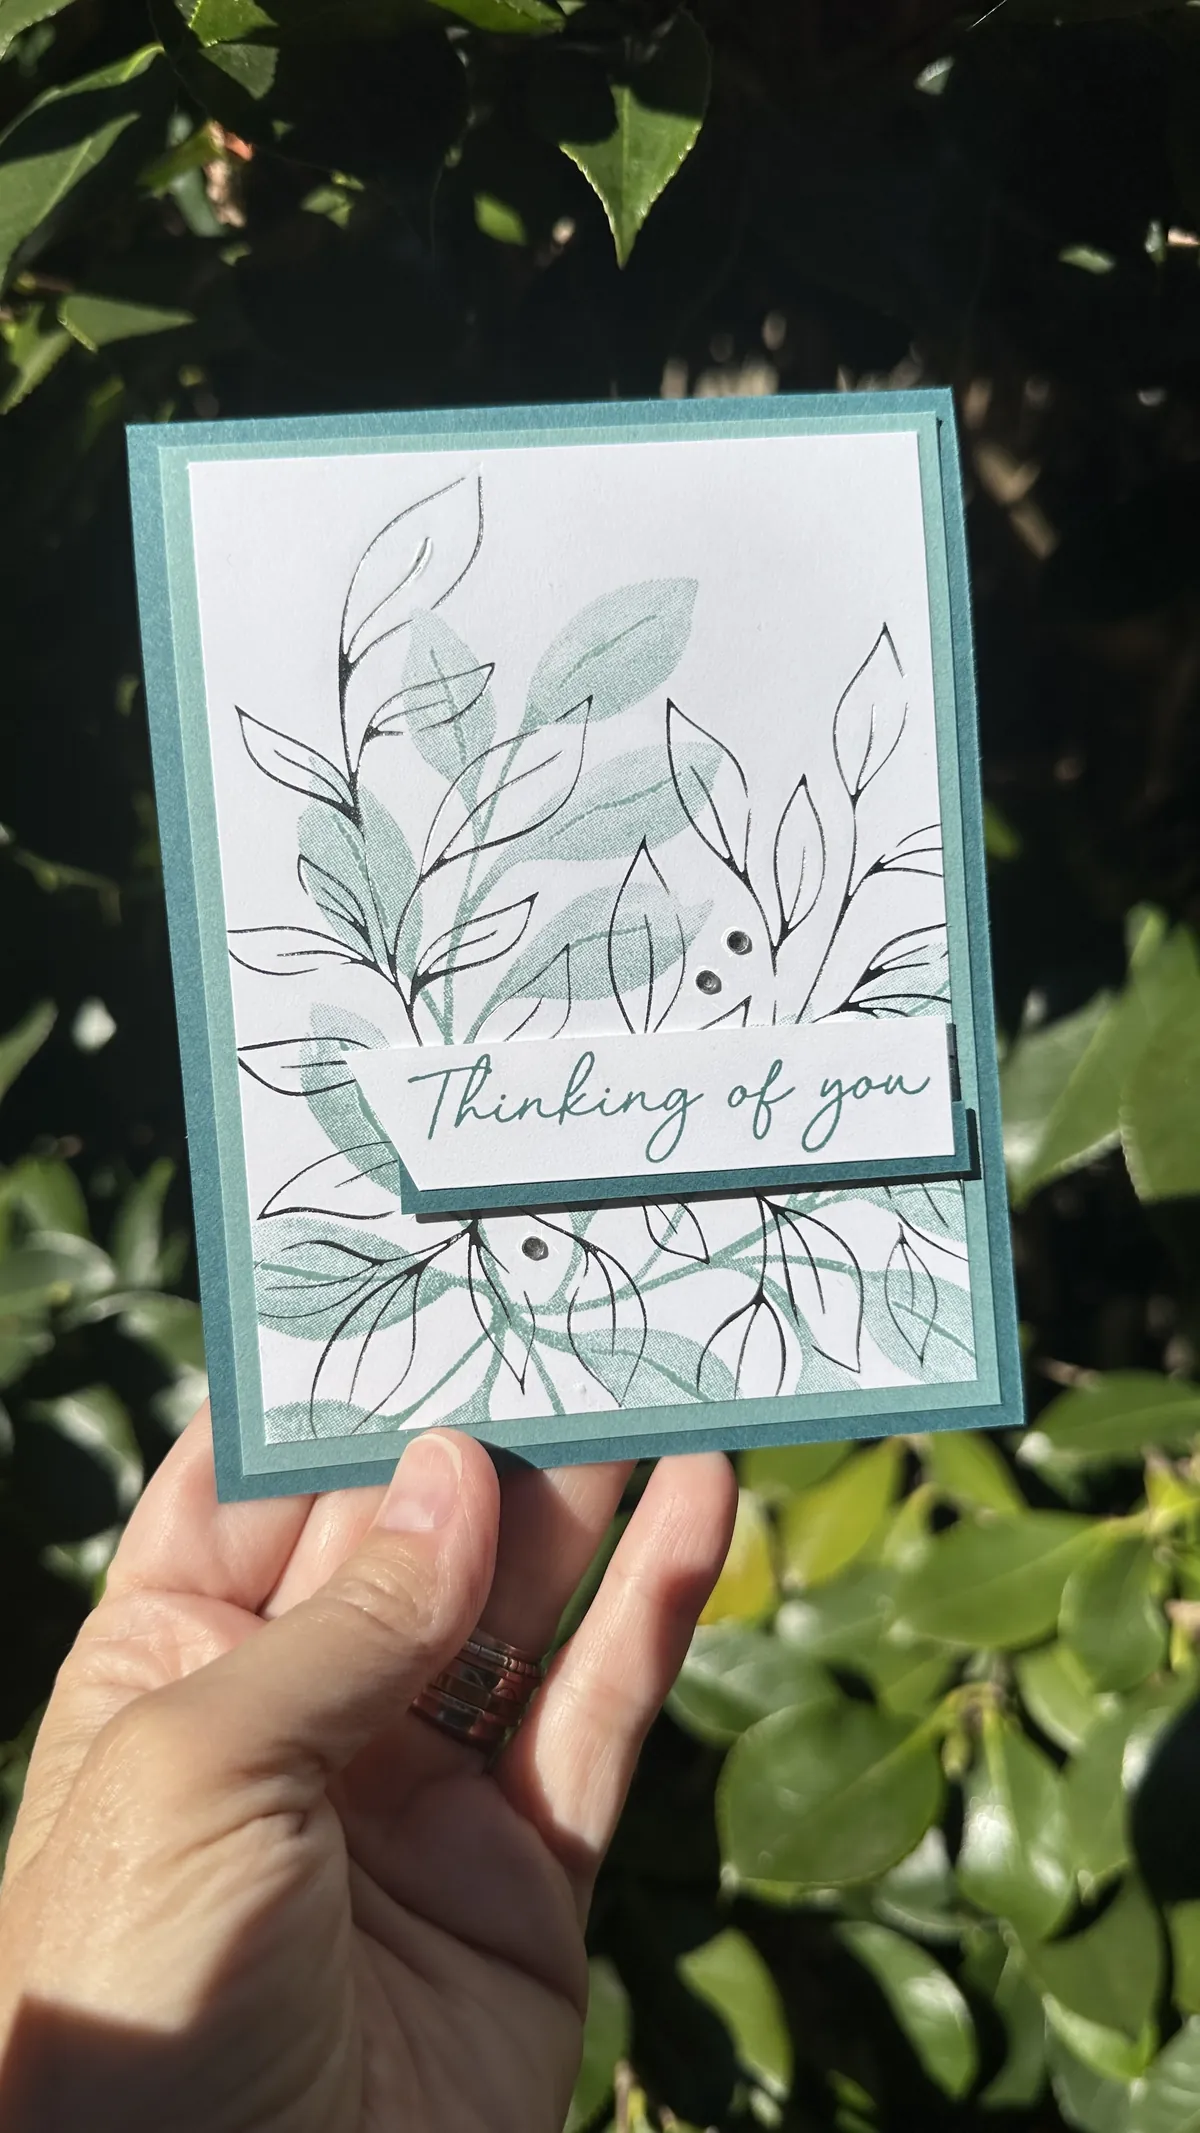
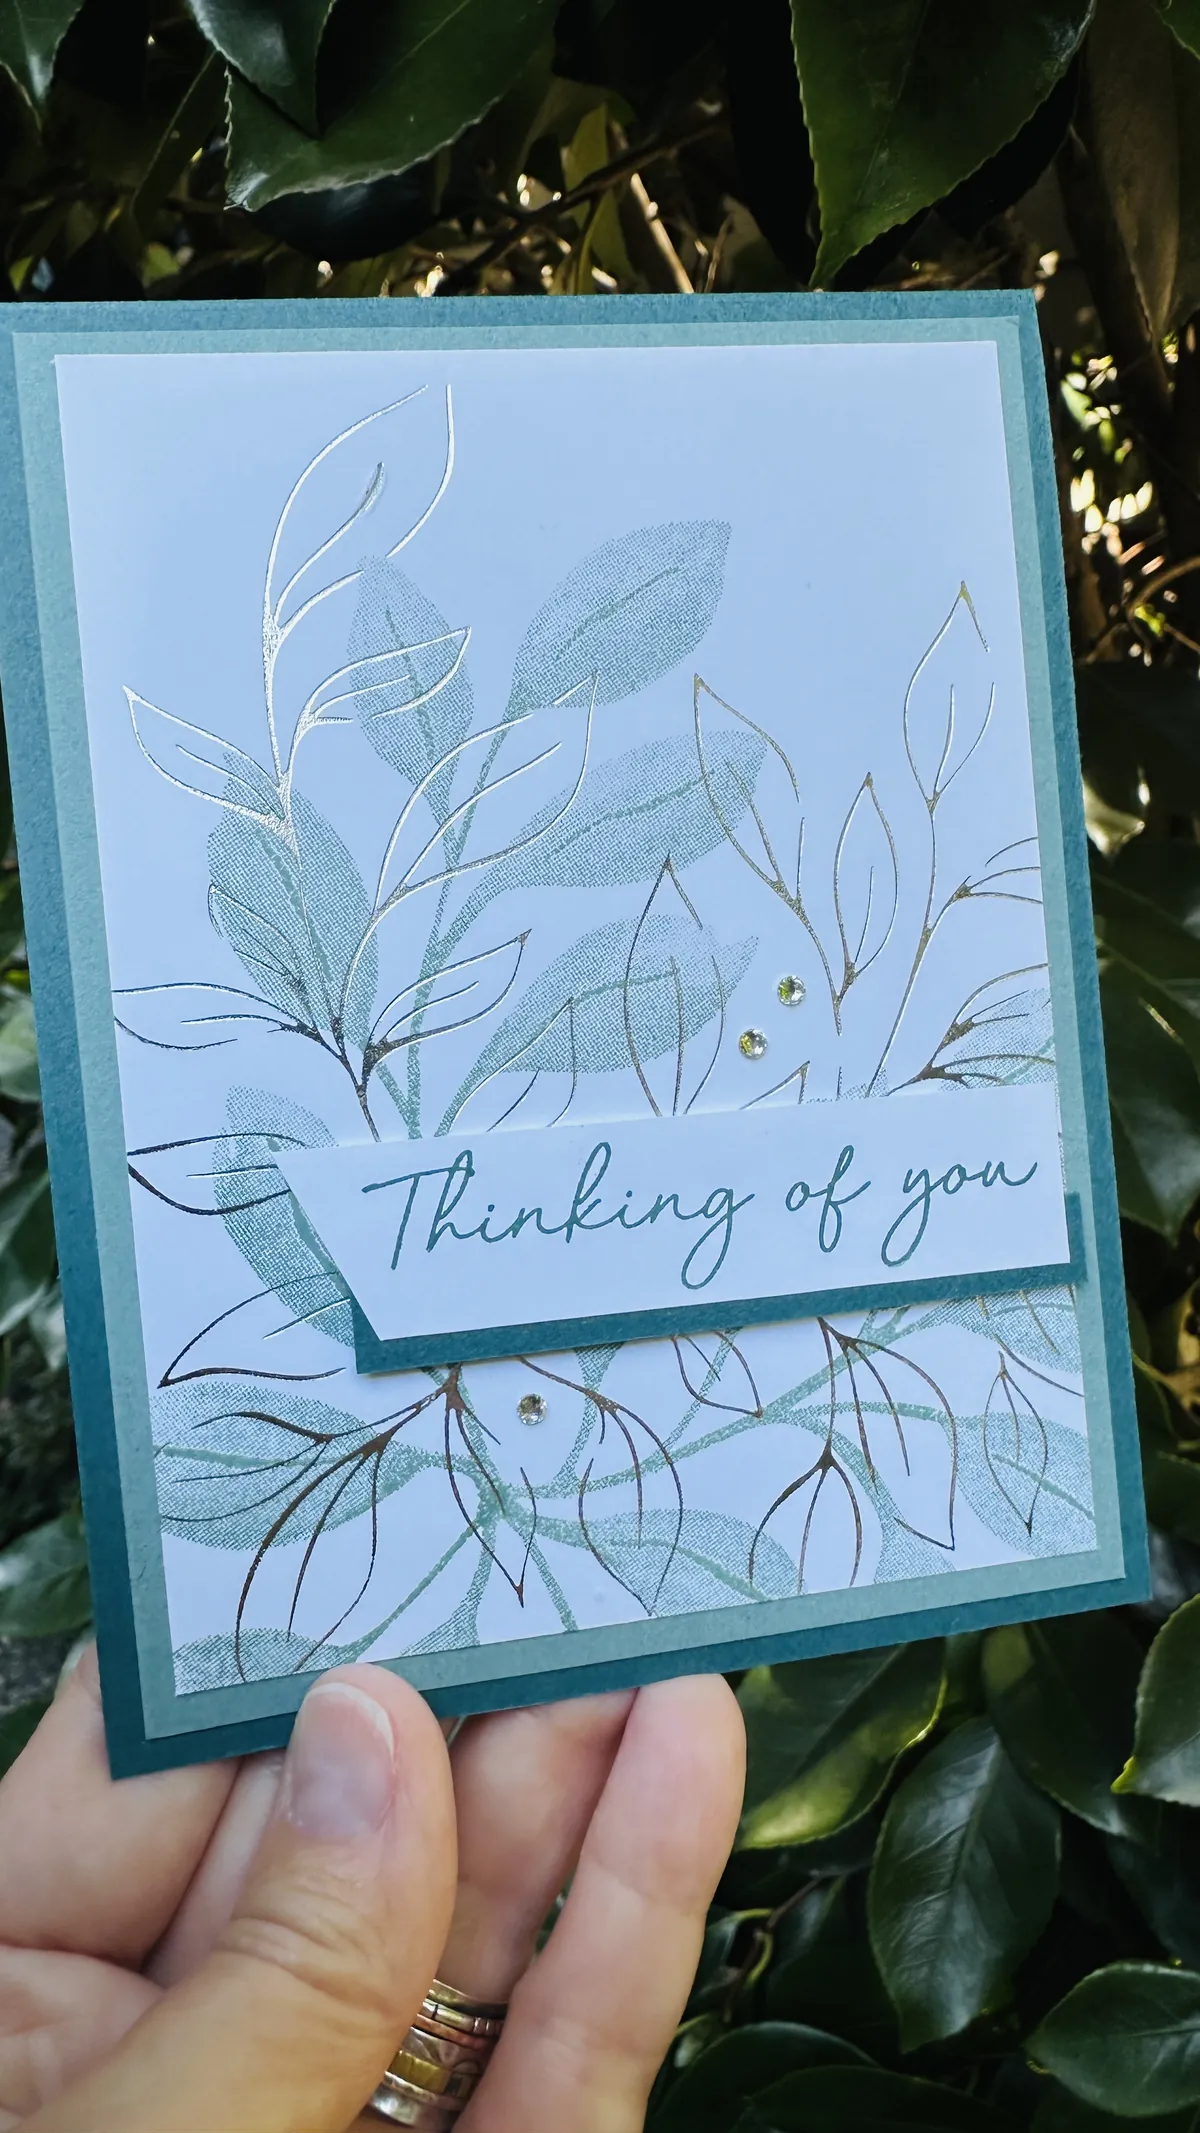
Same card, two photos. Foil is a bit of a chameleon: depending on the light it reads silver, dark or even a little bronze. The video honestly won’t do it justice. If you love heat embossing, this is heat embossing on steroids.
What is the Stampin’ Hot Foil System?
Stampin’ Up! released the Stampin’ Hot Foil System this summer, and it’s new to a lot of us. Hot foiling uses heat and pressure to transfer a thin layer of metallic foil onto smooth cardstock. You heat a hot foil die on the Hot Foil System, lay foil over your paper, and then run the whole sandwich through your Stampin’ Cut & Emboss Machine for the pressure part. Peel back the foil and there’s your design, crisp and metallic.
Foil rolls are currently available in gold, silver and light pink, and hot foil dies (like the one in the Botanical Glow bundle) are sold separately from the system. For this card I pre-foiled the panel in silver so we could focus on the design. I’m planning a separate, in-depth hot foil tutorial, so stay tuned and subscribe on YouTube so you don’t miss it.
The colour combination: Lost Lagoon, Silver and Pretty Peacock
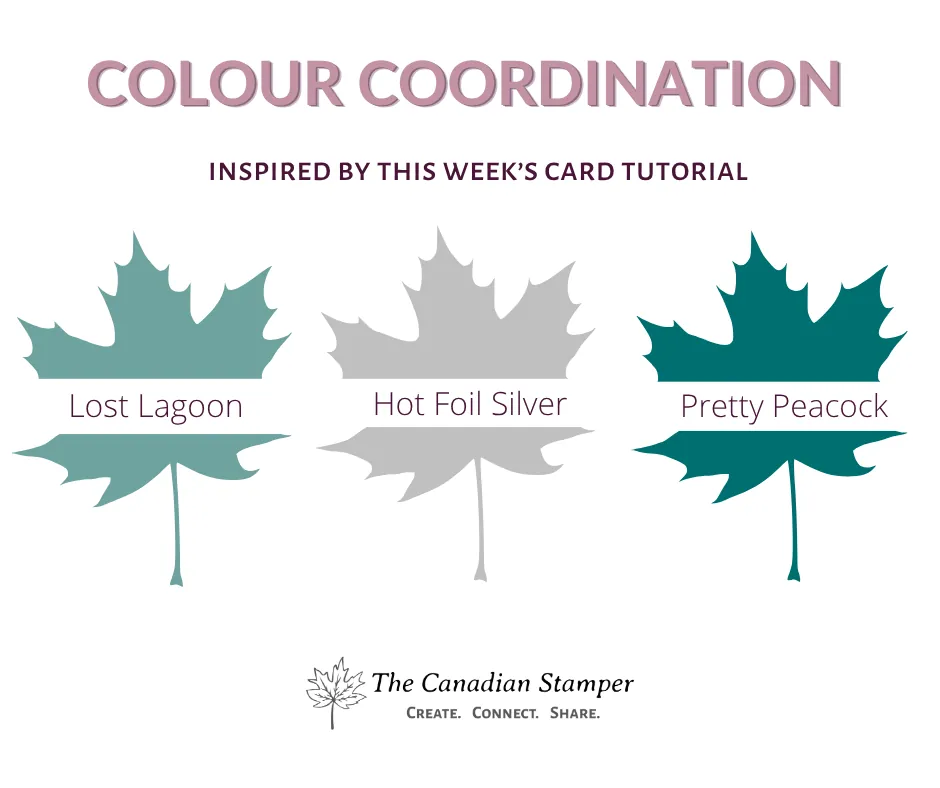
Soft Lost Lagoon for the stamped leaves, deep Pretty Peacock for the card base and sentiment, and silver foil tying it together. This is exactly the kind of coordination Stampin’ Up! does so well: the same colour exists across cardstock and ink, so everything matches by design. That’s not a “you” problem. That’s a coordination problem, and this trio solves it. If colour choices are where you get stuck, my free No-Overwhelm Colour Coach is a great place to start.
How I made the card
Here’s the flow (exact measurements are in the free PDF):
- Start with your foiled panel. I foiled a panel of Basic White cardstock in silver using the Botanical Glow hot foil die.
- Stamp over the foil. The Botanical Glow stamp is big, so I used the Stamp Positioning Tool. Mount the stamp on the clear plate, ink it with Lost Lagoon, flip it over, line up the little dots with the holes, set your paper in place, then press down and rub for good ink transfer.
- Build the layers. A Pretty Peacock card base, a Lost Lagoon layer, then your foiled and stamped panel. I kept the edges crisp; roughen them up if you want a more rustic feel.
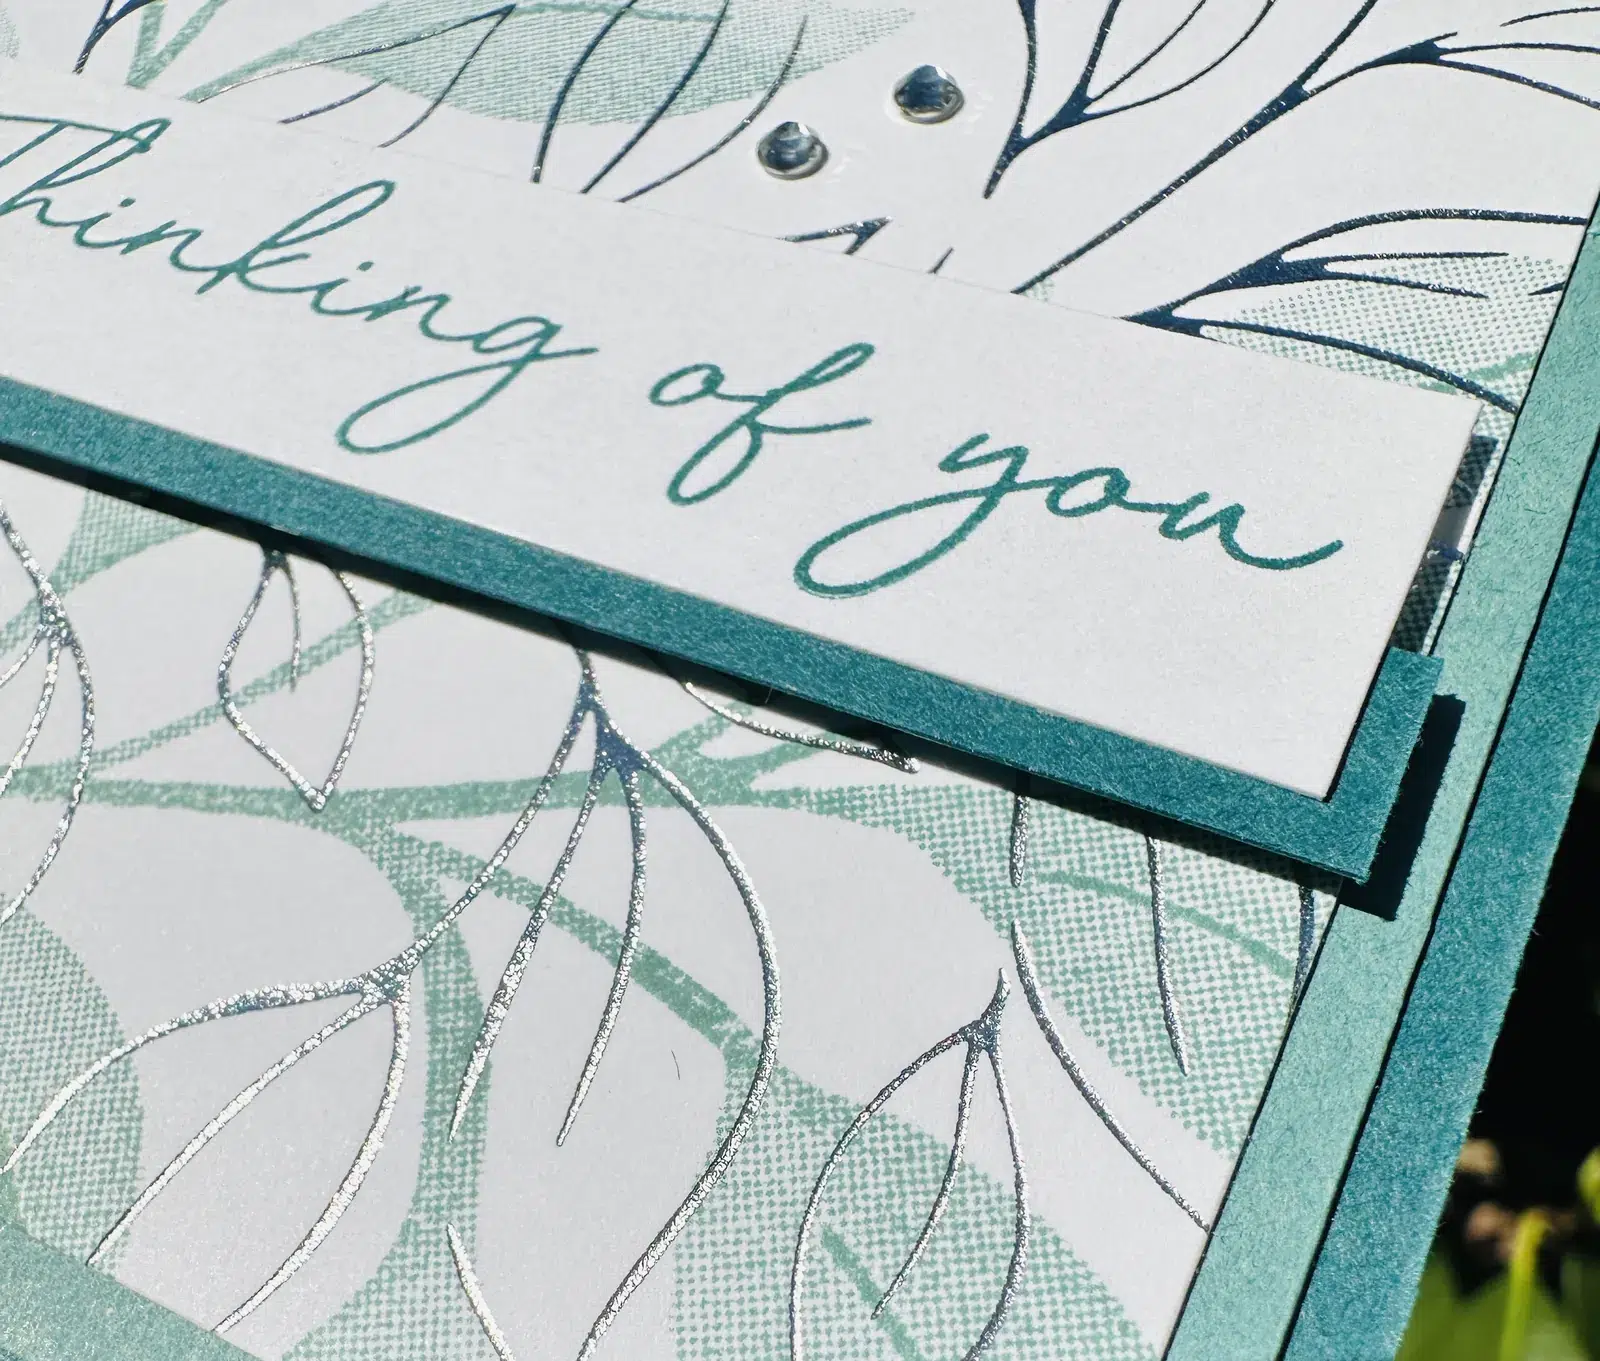
- Make the sentiment banner. Stamp “Thinking of You” in Pretty Peacock on Basic White, cut the end on an angle, and layer it over a slightly larger Pretty Peacock piece as an accent.
- Add dimension. Pop the sentiment up on Stampin’ Dimensionals.
- Finish with small rhinestones. The Basic Rhinestone Jewels pick up the silver foil beautifully. Two or three is plenty.
- Don’t forget the inside. With a dark card base, add a Basic White panel inside so there’s a good spot to write your message.
Make it your own
This design is a great one to adapt (CASEing encouraged, always with credit):
- Change the occasion. It works as a sympathy card, a masculine card, or a “just because” card for anyone.
- Make it a wedding card. Match the cardstock and the ink layered over the foil to the wedding colours. I think it would be really pretty.
- Swap the foil colour. Silver is what I used, but there’s gold too.
- Batch it. Once you have the foiled panels, you can crank out a bunch of white bases with silver in one sitting.
Supplies for this hot foil card
Everything I used is below, with a link to each item in my Stampin’ Up! store. You’ll also need a Stampin’ Cut & Emboss Machine for the hot foil pressure step, and I used the Stamp Positioning Tool for the stamping (optional, but so handy with a large stamp).
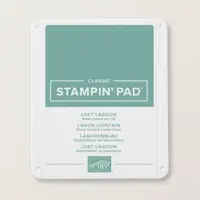
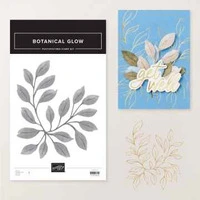
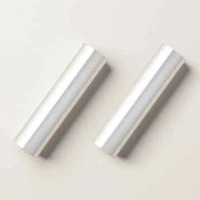
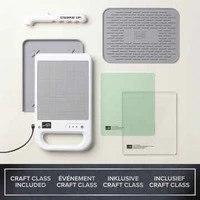
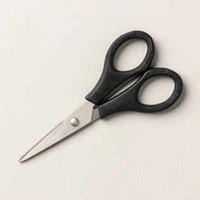
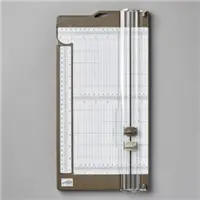
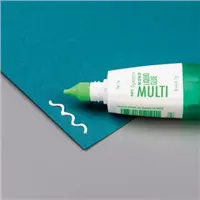
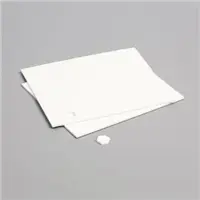
Not sure which of these you actually need? Start with the Botanical Glow bundle, the silver foil and the colours in this card. Everything coordinates, so you’re not guessing.
Hot foil card questions
What is hot foiling?
Hot foiling (also called foil stamping) uses heat and pressure to transfer metallic foil onto paper, leaving a shiny design behind.
What do I need to start hot foiling with Stampin’ Up!?
The Stampin’ Hot Foil System, a Stampin’ Cut & Emboss Machine, hot foil rolls and a hot foil die. The Botanical Glow bundle includes a stamp and a hot foil die. The system, foil and dies are all sold separately.
What kind of paper works best for hot foil?
Smooth paper and cardstock give the best results. If you’re trying a new paper, test a scrap first.
Can you stamp over hot foil?
Yes, that’s exactly what this card does. I stamped the Botanical Glow leaves in Lost Lagoon over the silver foil, using the Stamp Positioning Tool to line everything up.
What foil colours are available?
Gold, silver and light pink foil rolls are available right now. I used silver for this card.
Your next step
Ready to make this card? Download the free measurements and PDF. Not sure where to start with your crafting? Find Your Next Step and I’ll point you to the right place, whether that’s a relaxed Craft & Chat or going deeper with the Canadian Crafting Circle.
And if you already love Stampin’ Up! products, ask me about joining The Creative Canadians for the demonstrator discount and a really lovely creative community. No pressure. Just something worth knowing about.
Thanks for crafting with me. Share where you’re joining from, and I’ll see you next Saturday!