Ep. 271 | Endless Love Valentine Card
An easy Valentine card using the Endless Love bundle
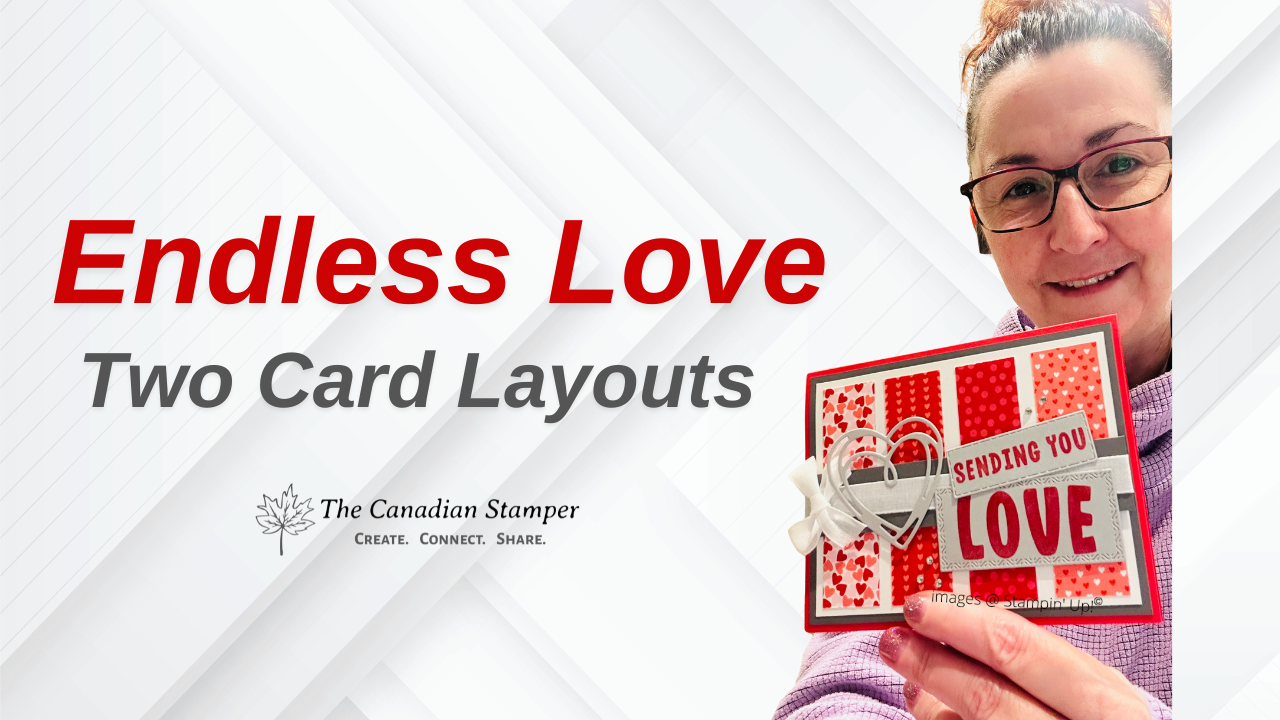
If you’re looking for a Valentine’s Day card that feels heartfelt without being fussy, today’s project is going to be right up your alley. In this week’s Saturday Morning Crafting, we created an Endless Love Valentine Card using the Stampin’ Up! Endless Love bundle, layered Designer Series Paper, and the wonderfully versatile Stylish Shapes Dies.
This card is proof that you don’t need complicated folds or tiny pieces to create something special. Just good layers, strong colour choices, and a design that’s completely figure‑out‑able. 😉
I also shared sneak peeks of two upcoming January classes — the Valentine Sampler and the Calendar Class — and I’ve left space below so you can explore those when you’re ready.
Project Overview: Why This Valentine Card Works
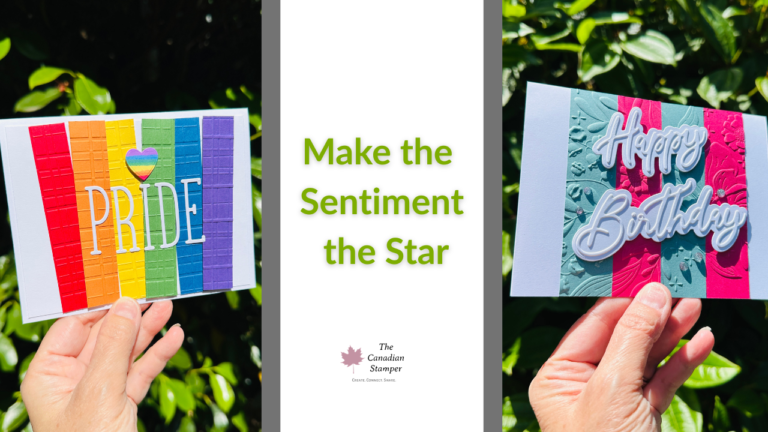
This Endless Love Valentine Card design is all about balance and flexibility. Instead of one large patterned layer, we used narrow strips of Designer Series Paper to add interest while keeping the card clean and modern.
You can:
- Space the DSP strips evenly for a lighter look
- Tuck them closer together for a bolder, graphic feel
Both options work beautifully, which makes this layout perfect for classes, swaps, or using up those Valentine DSP scraps we all hoard.
Featured Products
This project features:
- Endless Love Bundle (January–April Mini Catalogue)
- Stylish Shapes Dies
- Coordinating Valentine‑themed Designer Series Paper
- Mini Stampin’ Cut & Emboss Machine
The Endless Love bundle is ideal for Valentine cards, anniversaries, weddings, and love‑themed projects year‑round.
Card Measurements & Supplies
Card Base
- Poppy Parade: 4‑1/4″ x 11″, scored at 5‑1/2″ (A2)
Layers
- Basic Gray: 4″ x 5‑1/4″
- Basic White (front + inside): 4″ x 5‑1/4″
DSP Strips
- 1″ x 3‑1/2″ (trim as needed)
Accent Strip
- Basic White: 1″ x 5‑1/4″
Extras
- Ribbon
- Basic Rhinestone Gems
- Dimensionals
- Wet glue or tape runner
Creative Tip: Stress‑Free DSP Strips
When working with narrow DSP strips, wet glue is your best friend. It gives you a few seconds of wiggle room so you can slide pieces into place before they set.
Start from the outside and work inward, or place the centre strip first and build out. And yes — eyeballing is absolutely allowed. We’re crafting, not drafting blueprints.
Sentiment Options
We played with two sentiment options during the Live:
- Sending You Love
- Happy Valentine’s Day
Both sentiments work beautifully with this layout, and your feedback during the Live helped decide which version will be featured in the upcoming Canadian Crafting Circle class.
Watch the Full Video Tutorial
👉 Watch the full YouTube tutorial below
Download the Free PDF Tutorial
Prefer to craft at your own pace?
👉 Download the free PDF project sheet here
https://the-canadian-stamper.kit.com/a9e4867ac4
Crafting Should Feel Good
Whether you joined live, watched the replay, or are crafting along later, I’m so glad you’re here. This community is about confidence, connection, and enjoying the process — no perfection required.
We’ll be back again next Saturday with more paper, more projects, and probably a little crafty chaos. 💜
Stay Connected
- Subscribe to my weekly newsletter
the-canadian-stamper.kit.com/the-no-overwhelm-colour-coach - Subscribe on YouTube for weekly tutorials
- Join an upcoming class or craft‑along
Images © 2026 Stampin’ Up!®