
Easy Holiday Fun Fold Card with a Poinsettia
Easy Holiday Fun Fold Card with a Poinsettia
A Christmas card that stands up for display and folds flat for an envelope? Yes, please.
This week’s holiday fun fold features a layered white poinsettia, cheerful Christmas paper, and a sentiment that does more than send Christmas cheer — it helps hold the card upright.
That’s the little detail worth understanding. Once you know how the pieces work together, you can change the paper, flower, or greeting and make this design your own.
This one started as a card in my September Craft & Chat kit — it’s mail-order, not a live session, and it ships anywhere in Canada, so you can craft it on your own schedule.
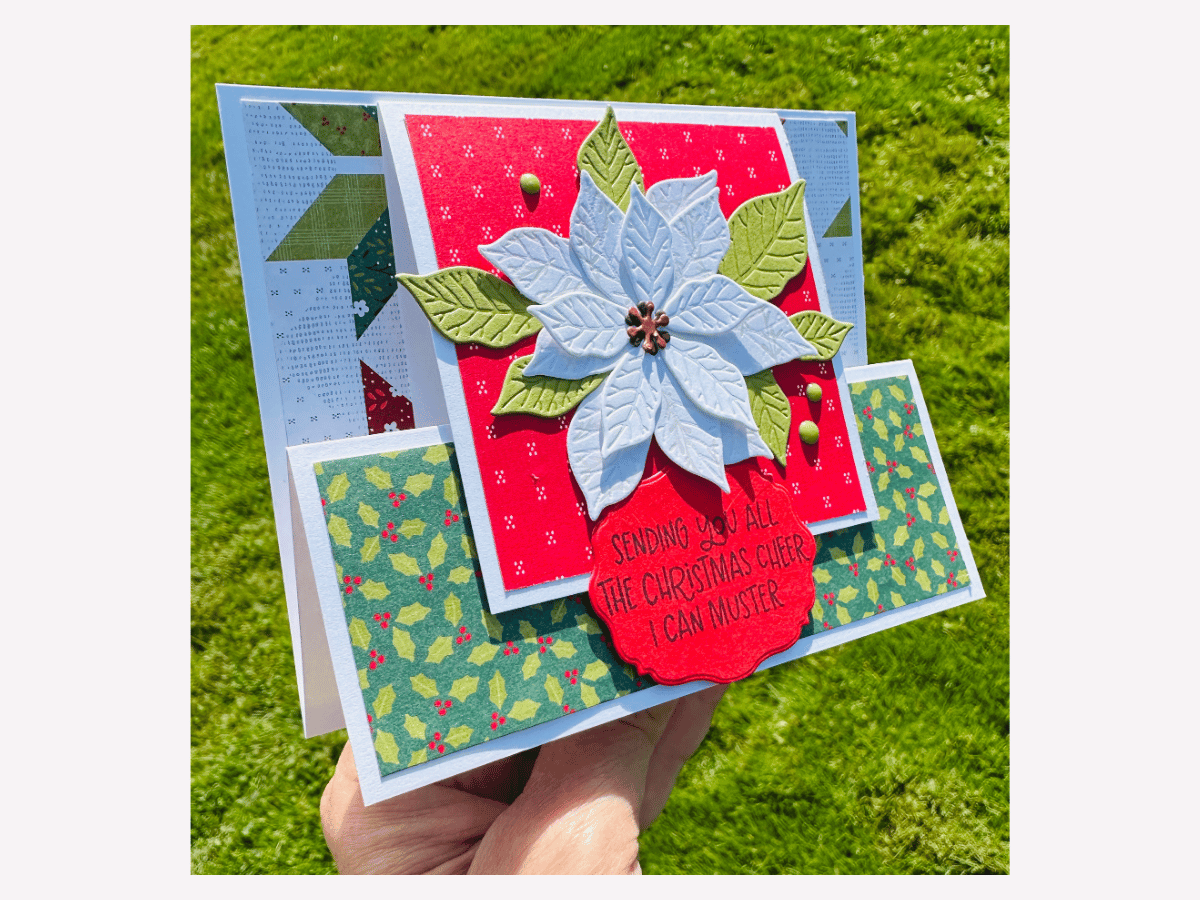
Standing tall and ready for its close-up.
The sentiment has a job
On this card, the raised sentiment creates a place for the lower edge of the upright panel to tuck behind.
You also need a sentiment piece with enough height to hold the panel. A skinny greeting strip may look lovely, but it won’t necessarily do this job. A circle, oval, square, or rectangle can work — you don’t need the exact label shape I used.
Watch before you glue
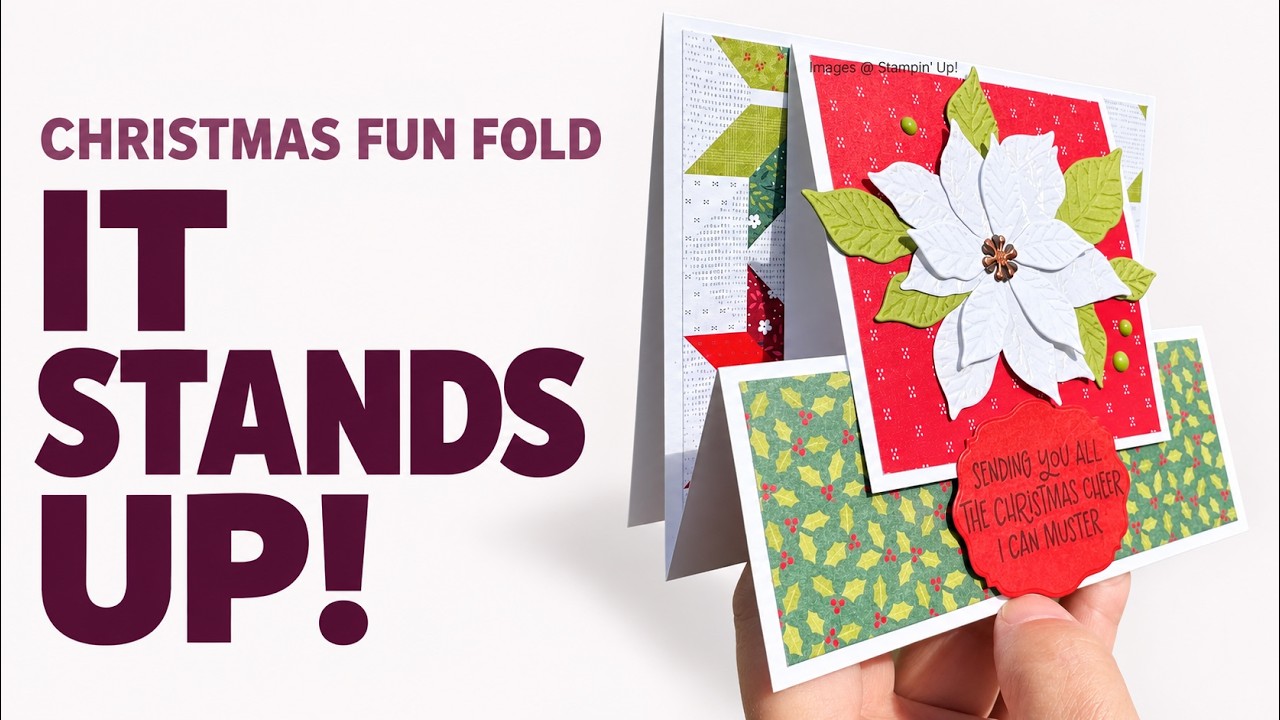
Watch the full tutorial on YouTube
Before committing to the adhesive, test how your panel sits behind the sentiment. Its position matters, especially if you’re using a different label shape.
And if the finished card wants to lean backwards? Gently spread the folded base a little farther apart and check it again. That small adjustment can help it settle into position.
Let the paper do some of the coordinating
I used red and green Christmas patterns with a white poinsettia as the focal point.
The white flower gives your eye somewhere to land against the patterned paper. The narrow white borders around the panels also help separate the prints so each section reads clearly.
Start with coordinating patterned papers, then choose a flower or other focal image that stands out against them. You’ll have a useful starting point for your colours before you even open an ink pad.
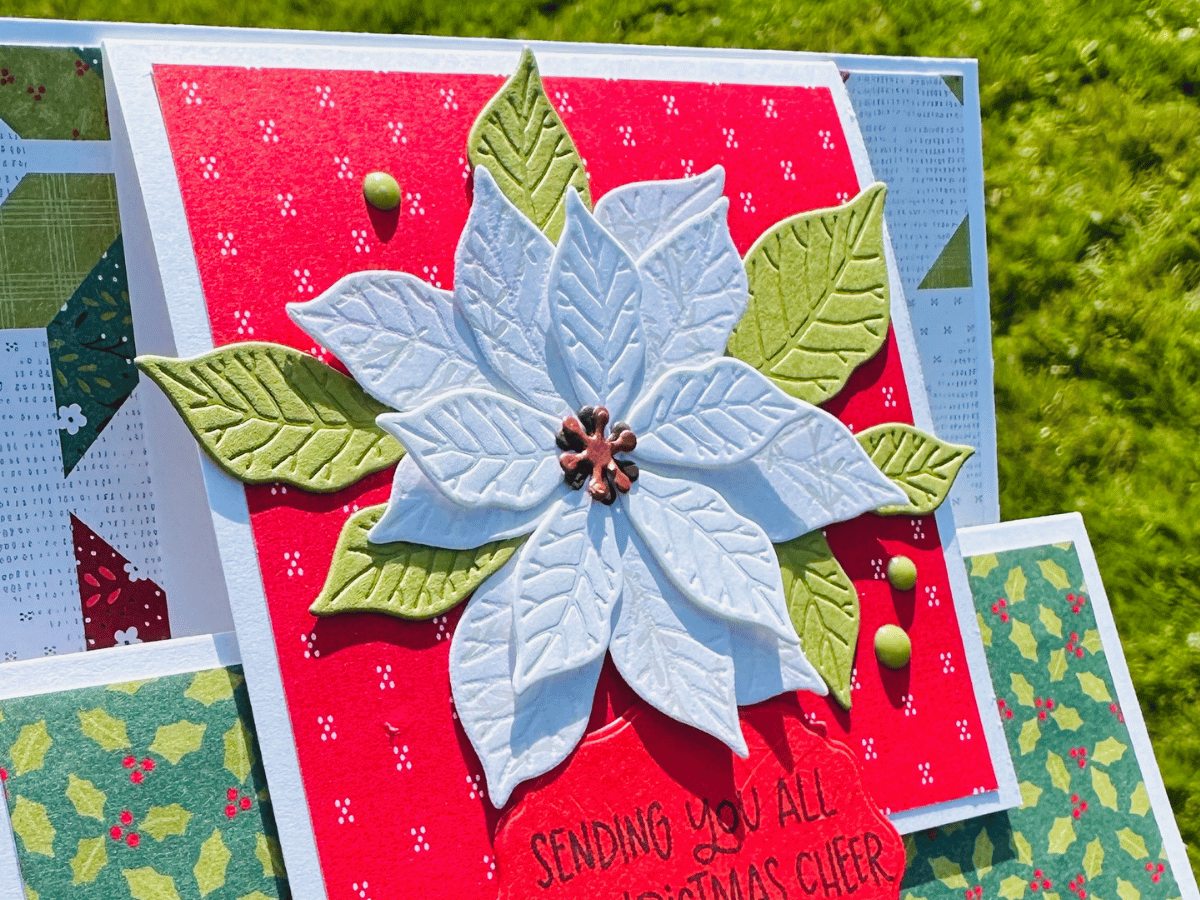
The details that make the coordination work.
Build the flower, then lift and tuck
Layer the poinsettia pieces, rotating them slightly so the petals sit between one another. Add the centre, then arrange the leaves around the flower.
You can separate the leaf die-cut into smaller sections to put the greenery where you want it. Some leaves can stay together — they’re allowed to remain friends.
When adding them beneath the flower, gently lift the petal edge and tuck the leaves underneath. A little positioning before the glue sets makes this much easier.
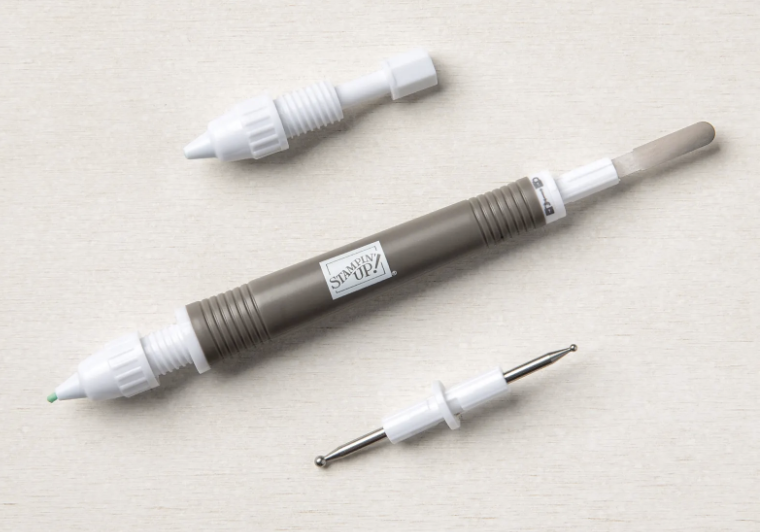
Here’s what I used to lift and tuck those tiny leaf pieces without wrecking the petals: the Take Your Pick tool. I go on about this thing in the video, and I’ll say it again here — the putty end grabs small die-cut pieces clean off your mat and sets them exactly where you want them, no fingers, no smudged glue, no lost leaves. If you’re layering anything this fiddly, it earns its spot in your kit fast.
Shop the Take Your Pick ToolMake one, then make a few more
This is a useful design to repeat for Christmas cards once you’ve worked out the placement on your first one.
You can cut two main card bases from one sheet of 8½″ × 11″ cardstock. You’ll need additional cardstock for the focal panels and decorative pieces.
Make one complete sample first. Then use it as your guide for cutting and assembling the next few. Same fold, same placement, fewer decisions.
This project was also one of my September Craft & Chat kit cards. It’s a mail-order kit, so wherever you are in Canada, the supplies and instructions land in your mailbox and you craft it whenever suits you — that’s exactly the kind of low-pressure crafting Craft & Chat is built for.
Want the exact measurements for every layer of this card? Grab the supply list and measurement guide below.
Get the Supply List & Measurements (PDF)To recreate the look, gather coordinating Christmas paper, a poinsettia die set, a Christmas greeting, cardstock, adhesive, and Stampin’ Dimensionals. The sentiment’s raised placement is the part to pay particular attention to.
And don’t forget the envelope. A little coordinating paper there finishes the whole thing off.
Nailed it — and I hope you do too.