Loads of Card Making Tips
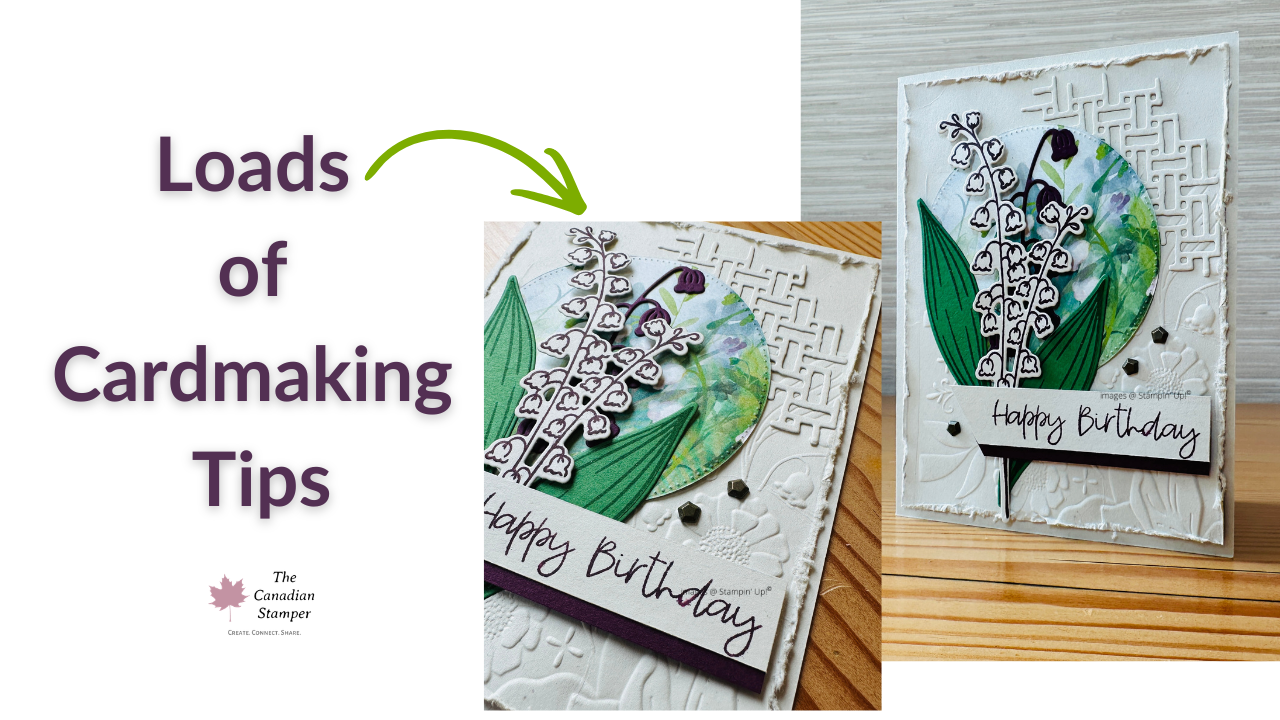
Sometimes it’s the smallest changes that make the biggest difference. When I was creating this elegant Lily of the Valley birthday card, I realized the project wasn’t really about the finished card at all — it was about the little techniques that make crafting easier, cleaner, and more enjoyable. Whether you’re brand new to cardmaking or you’ve been stamping for years, these five simple tips can help you get better results while saving time, ink, and supplies.
▶ Watch on YouTube — Episode 295
Let Your Stamp Rest on the Ink Pad
One of the most common habits I see is pressing stamps firmly into the ink pad. The truth? You don’t need to. Simply rest the stamp gently on the pad and give it a light tap — that’s enough to transfer the ink to the raised image.
Pressing hard usually creates:
- Too much ink on the stamp
- Inky fingers and messy edges
- Less crisp stamped impressions
A gentle touch produces cleaner results and keeps your workspace much tidier.
A Stamp Positioning Tool Isn’t Just for Beginners
Many crafters think they don’t need one — until they use one. A stamp positioning tool lets you:
- Stamp large images with confidence
- Re-ink and stamp again if you missed a spot
- Get crisp impressions on textured cardstock
- Use one tool instead of multiple acrylic blocks
If you enjoy detailed images or larger stamps, it’s worth considering.
Less Tombow Glue Is More
Liquid glue is fantastic because it gives you a few seconds to adjust your layers before it dries. But you probably don’t need nearly as much as you’re using. A very thin line is usually all it takes to create a strong bond between cardstock layers.
Using less means: less waste, less mess, faster drying, and cleaner finished cards. Good quality adhesive is designed to work efficiently — you don’t need to flood the paper.
Add Texture with Distressed Edges
Sometimes a card feels flat even when you’ve added beautiful paper and die cuts. Using a distressing tool — or even the edge of your paper snips — you can gently rough up the cardstock edges for a soft, vintage look.
It works especially well on nature-inspired cards like this Lily of the Valley design because it adds texture without introducing another colour or embellishment.
Give Your Focal Point Room to Shine
When designing a card, it’s tempting to use every die-cut exactly as it comes. Instead, try separating elements and layering them independently. For this project, separating the flowers from the background helped the focal image stand out instead of competing with the patterned paper behind it.
Sometimes removing an element creates a stronger design than adding another one. Don’t be afraid to try several layouts before committing to the final design.
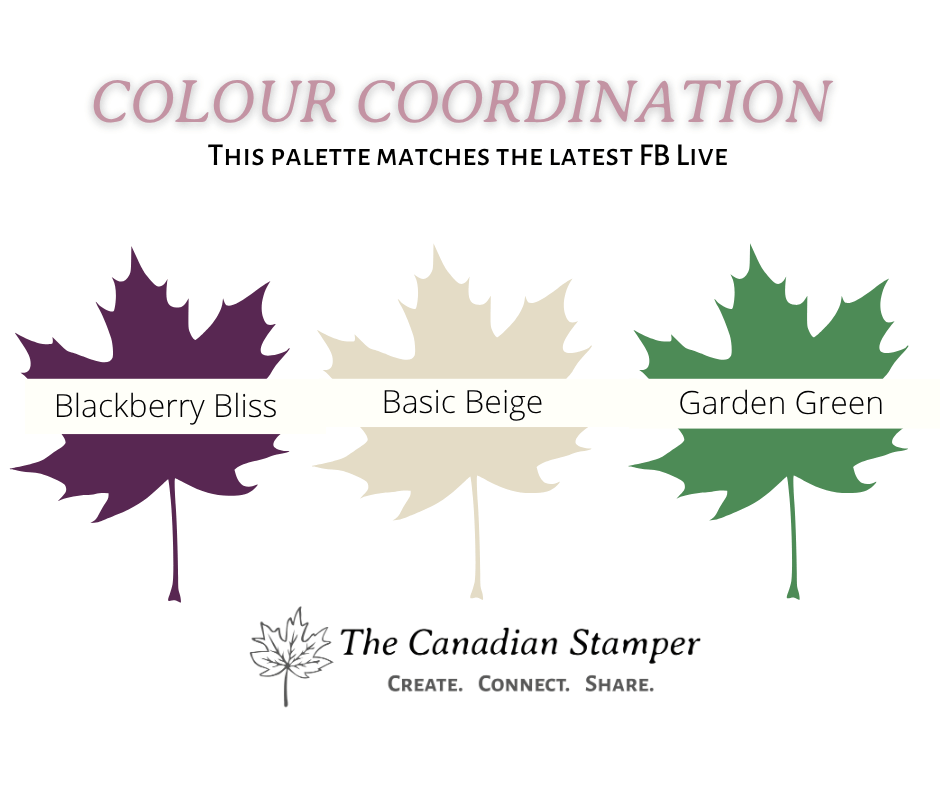
The Colour Combination
This project uses a palette that’s rich and nature-inspired — perfect for an elegant birthday card with a botanical feel.
What You’ll Need
- Lily of the Valley Stamp Set
- Valley in Bloom DSP
- Floral Spray 3D Embossing Folder
- Stylish Shapes Dies
- Blackberry Bliss Ink Pad
- Blackberry Bliss Cardstock
- Garden Green Ink Pad
- Garden Green Cardstock
- Basic Beige Cardstock
- Faux Bronze Pentagons
- Paper Trimmer
- Bone Folder
- Tombow Liquid Glue
- Take Your Pick Tool
- Stampin’ Dimensionals
- Silicone Craft Sheet
- Stampin’ Positioner
Download the Project Sheet
Want the full step-by-step measurements and assembly instructions? Grab the free PDF — it has everything you need to recreate this card at home.
Ready to Feel More Confident Choosing Colours?
If colour coordination feels overwhelming, my free No-Overwhelm Colour Coach gives you a simple system for choosing combinations with confidence — so you can spend less time second-guessing and more time creating.
Get the Free Colour Coach →
Happy crafting!
Tanya — The Canadian Stamper
Create. Connect. Share.
Episode 295 | June 27, 2026