How to Make a Pop-Up Gift Bag Gift Card Holder
How to Make a Pop-Up Gift Bag Gift Card Holder
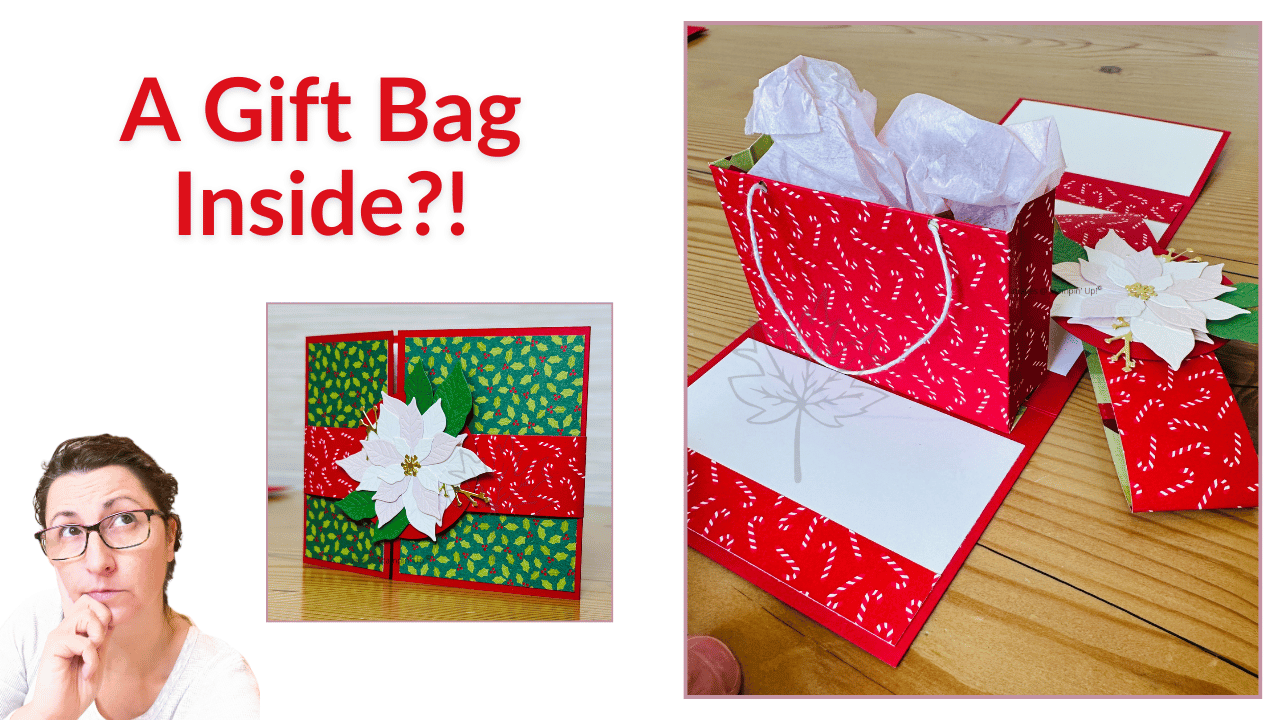
A gift card is practical. A gift card tucked inside a tiny handmade paper bag that pops up the moment the card opens? That’s a gift in itself.
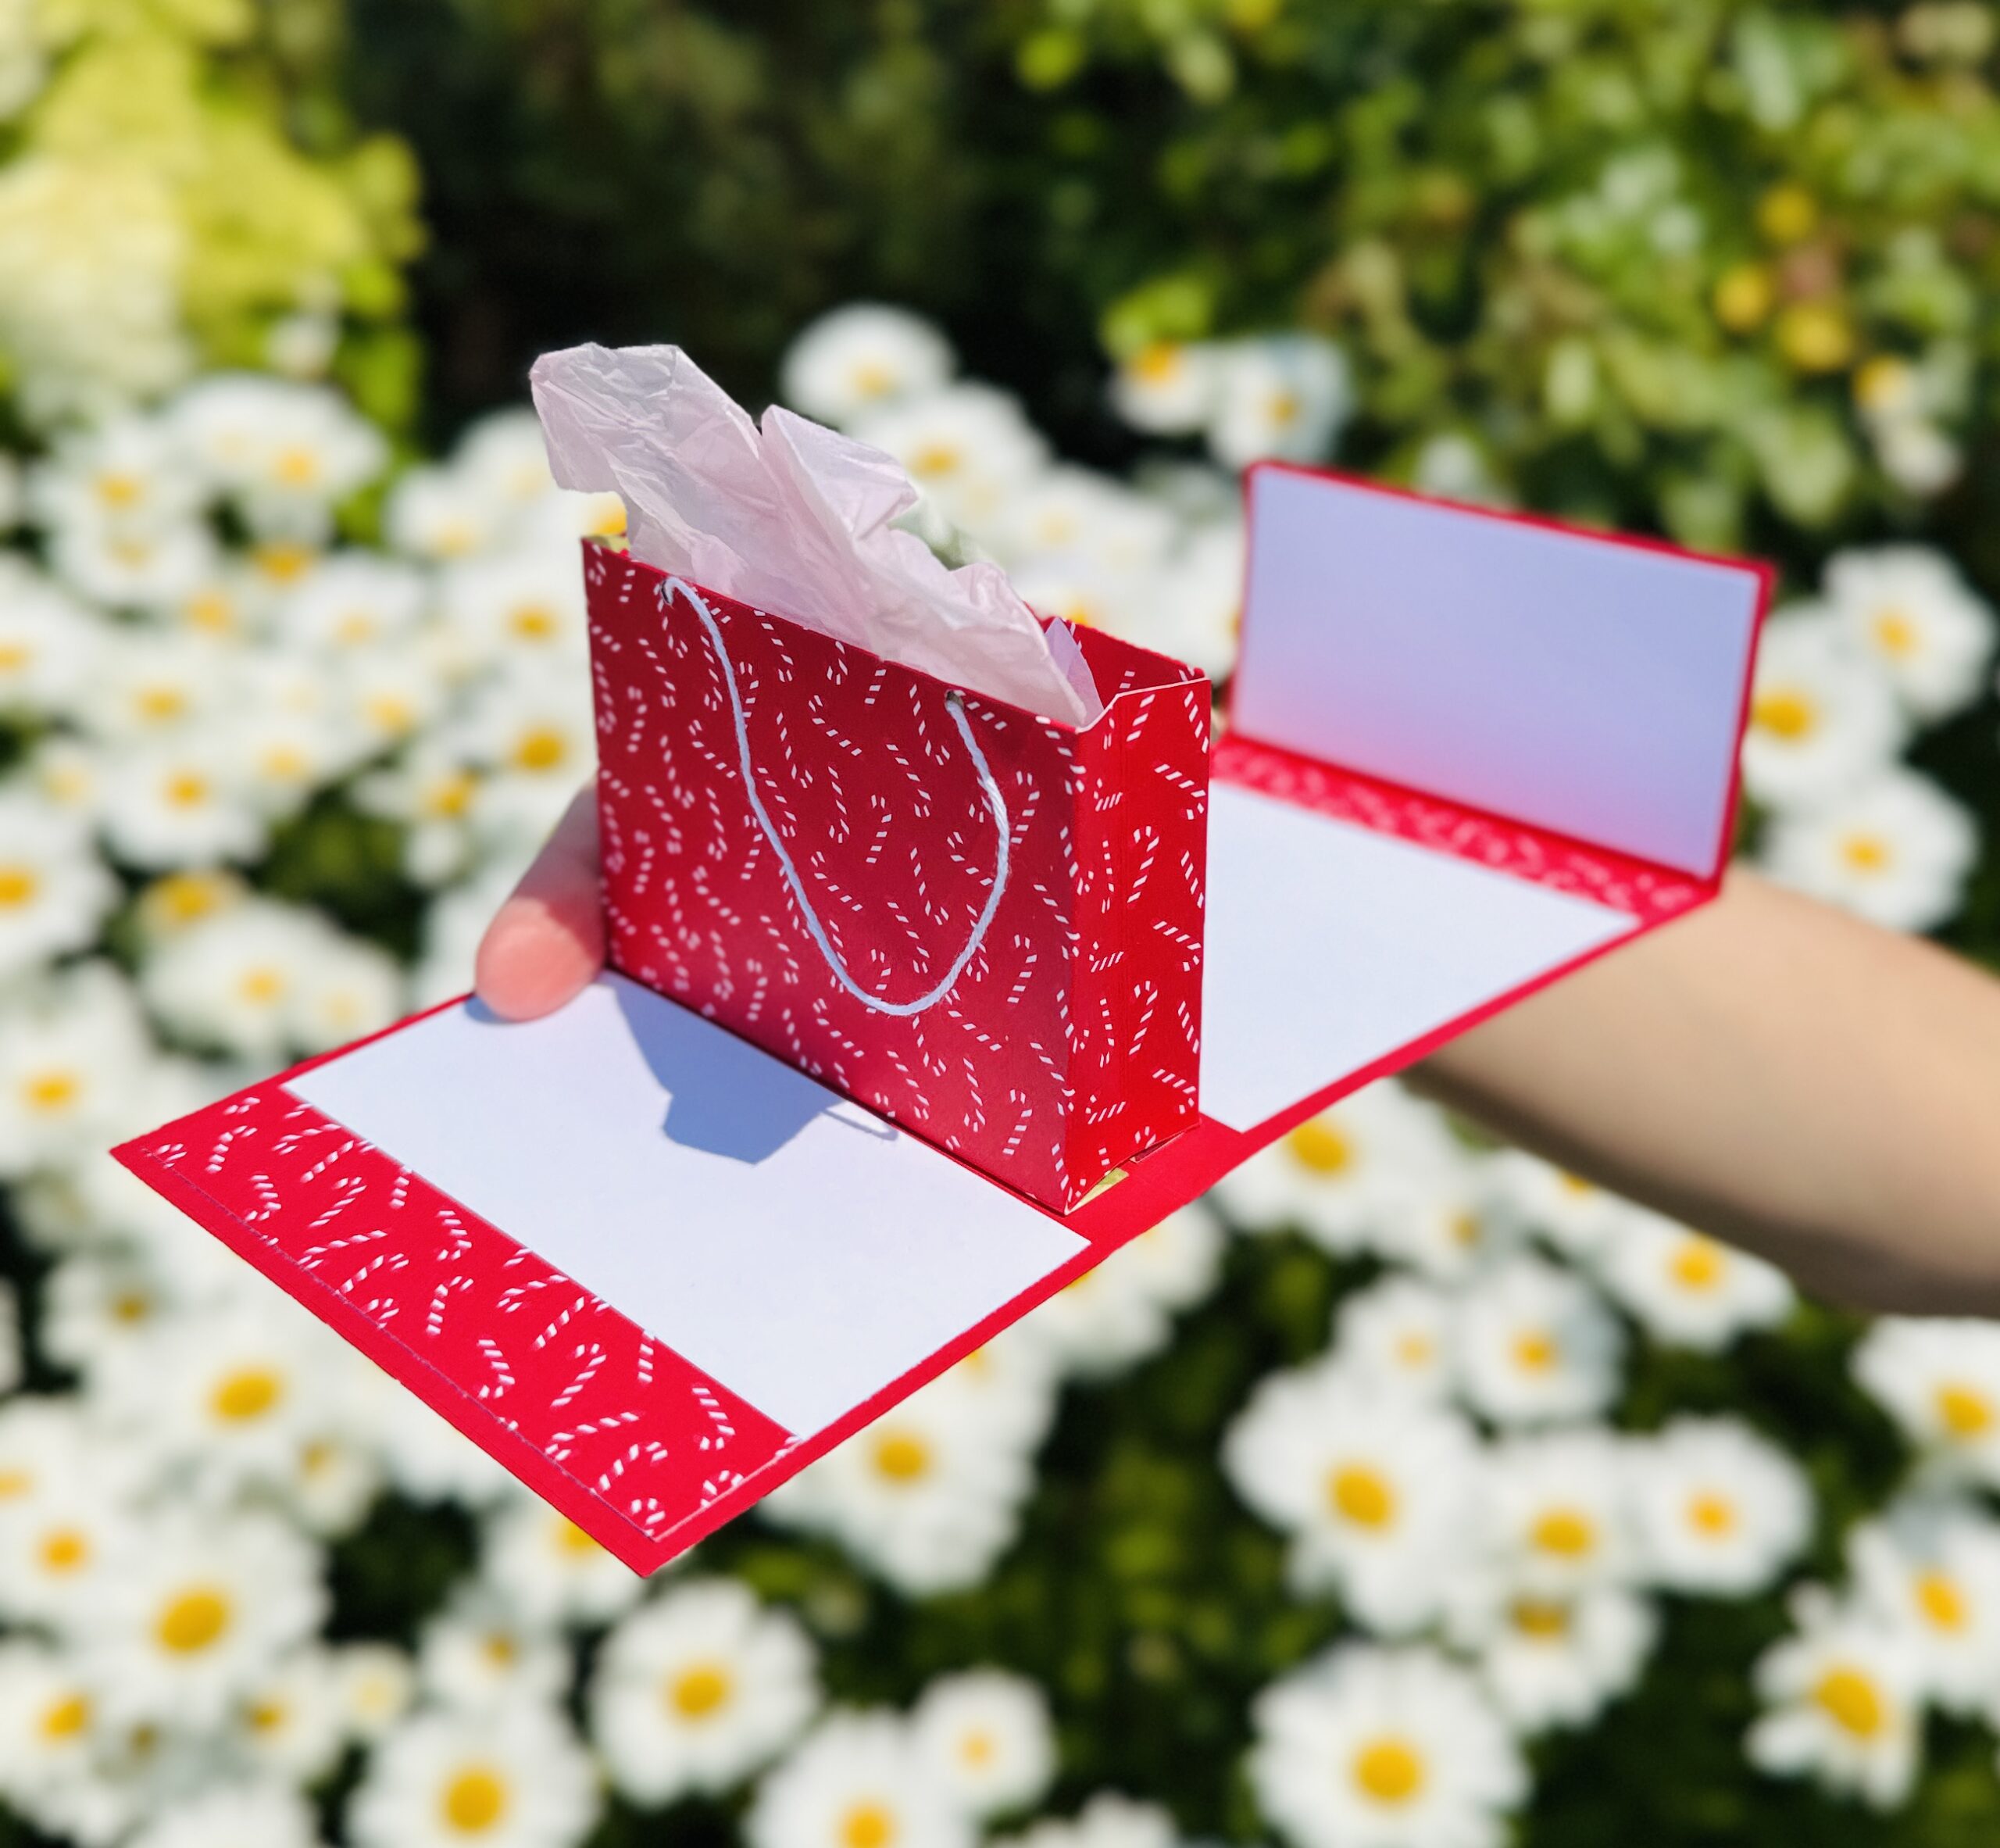
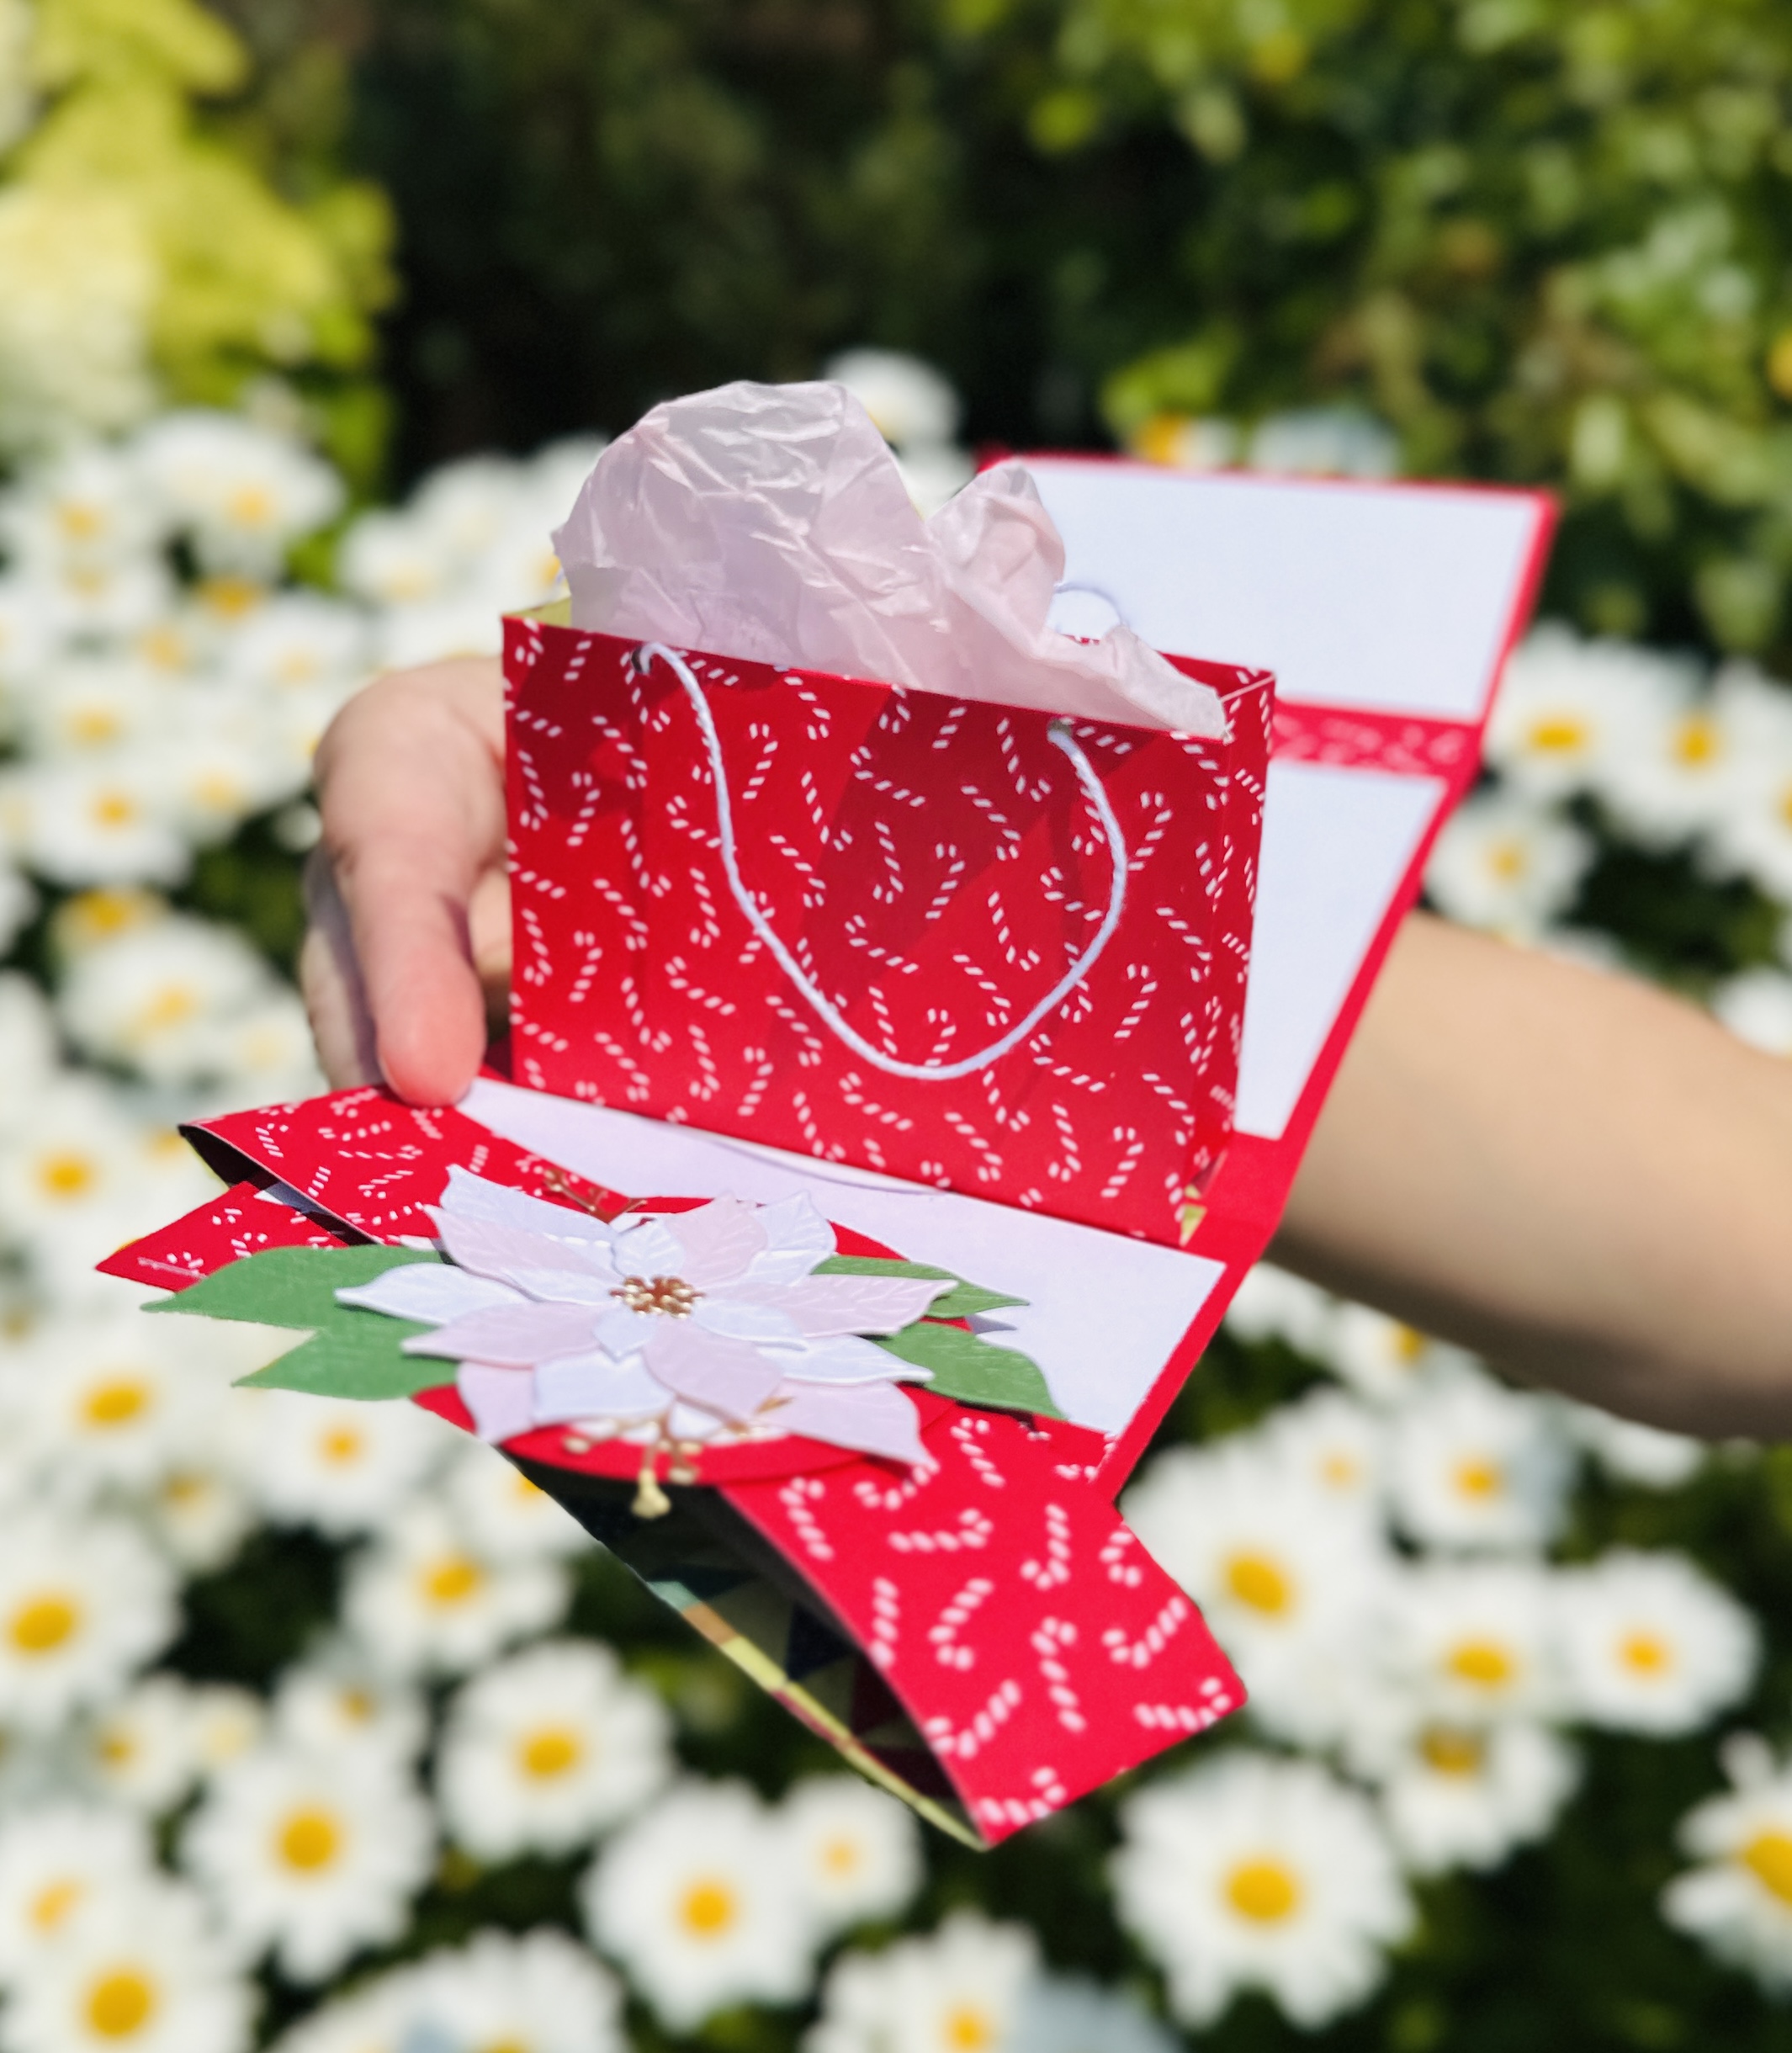
This pop-up gift bag gift card holder is a handmade card with a miniature paper gift bag hidden inside. Add a little tissue paper, optional twine handles and a favourite gift card, and the presentation becomes part of the present.
Get the Free Printable Tutorial
The complete PDF includes the measurements, scoring guide, cutting template and assembly photos you need to make this project — plus my newest card-making tutorial, practical tips and class updates every Sunday.
A Gift Card Holder That Feels Like a Gift
Gift cards sometimes get dismissed as impersonal, but I disagree.
Choosing a gift card someone will genuinely use is thoughtful. The presentation is what turns it from practical into memorable.
This project gives you space to write a personal message, decorate the card for the recipient, and tuck the gift card inside a miniature gift bag. When the card opens, the bag expands and reveals what’s inside.
I used Christmas paper and a Tim Hortons gift card because apparently I was determined to make this project as Canadian as possible.
The Surprise Is in the Opening
The best part of this card is the moment the recipient opens it.
The miniature gift bag folds flat while the card is closed. As the card opens, the bag pops into shape. It looks clever and complicated, but the finished mechanism is much more manageable than it first appears.
That’s one of the reasons I love interactive cards — they create a strong visual payoff without requiring you to invent an entirely new project from scratch.
In the video, I show the full project coming together, including the pop-up reveal, optional handles and the belly band that keeps the card closed.
The project was inspired by a tutorial from Linda Heller and adapted using current Stampin’ Up! products and my own finishing details.
This Card Uses the Pretty Poinsettia Bundle
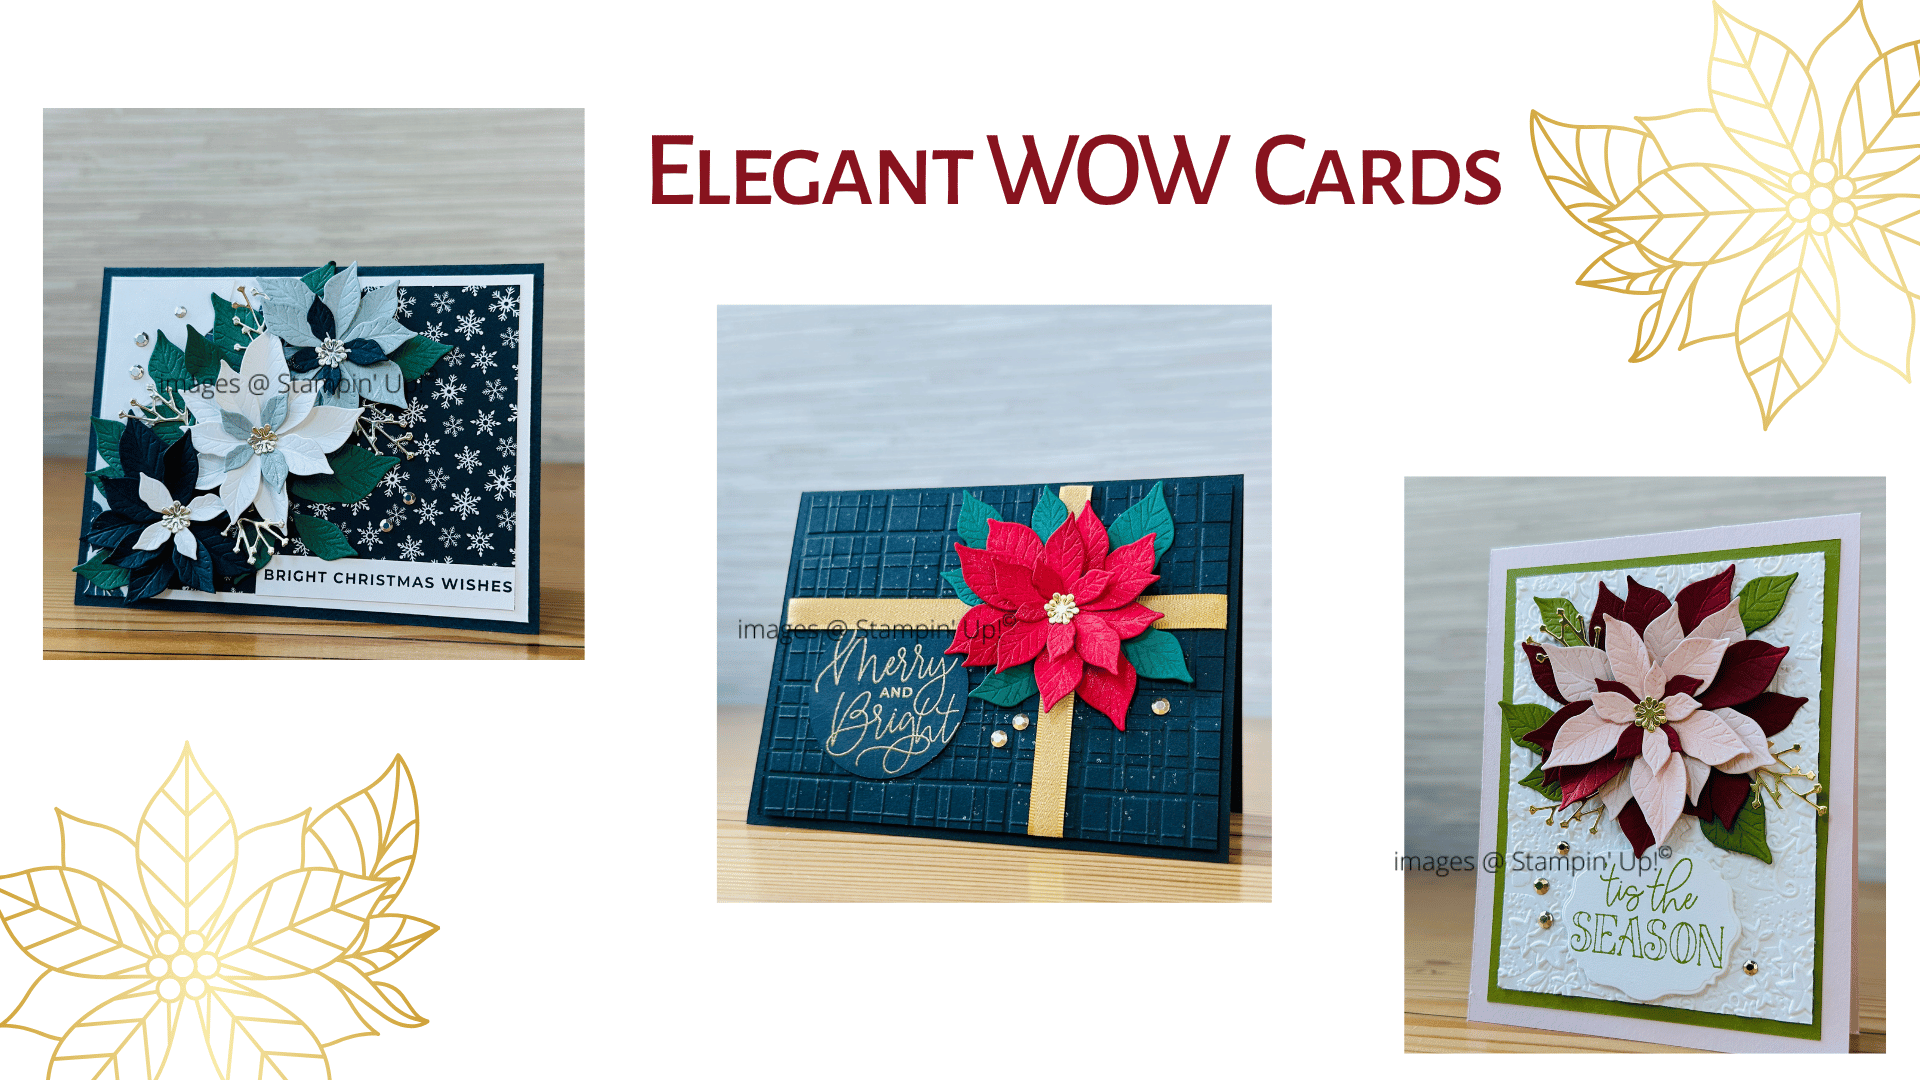
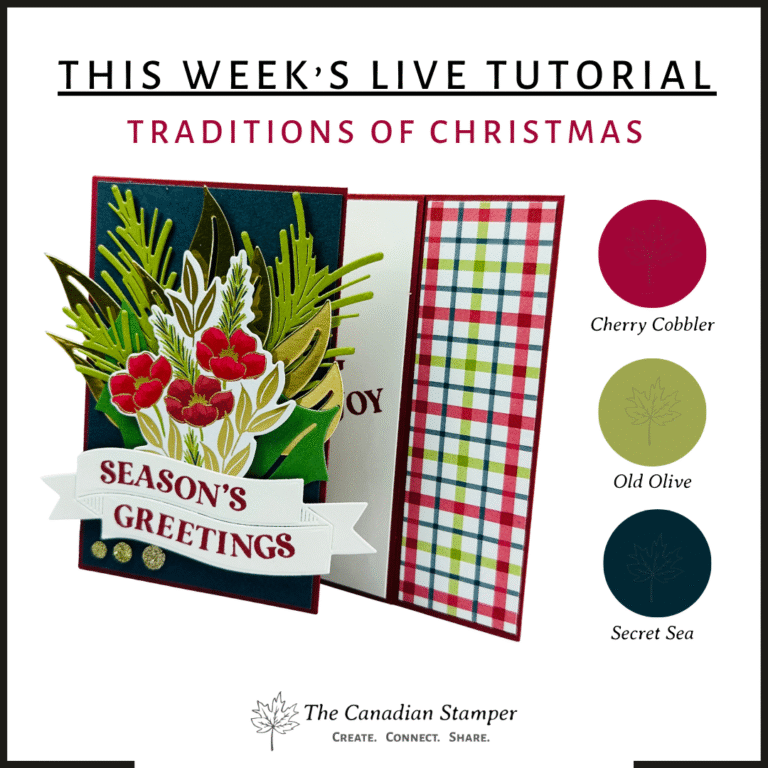
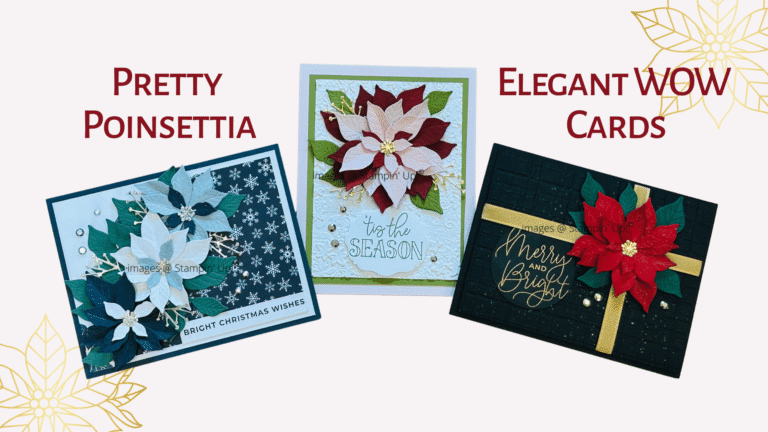
The Christmas paper on this project is from the Pretty Poinsettia bundle — the star of this month’s Canadian Crafting Circle. Join me Saturday, July 25 for the Pretty Poinsettia Christmas Card Experience and make 6 Christmas cards (2 each of 3 designs), learning techniques like ink blending, embossing and paper piecing along the way.
Live in Victoria, Craft-at-Home anywhere in Canada, or Digital worldwide — there’s a format for wherever you craft.
Handles or No Handles?
The little handles are optional, but they do make the paper bag look especially convincing.
I used thin twine so the bag would still collapse inside the card. You could also skip the handles entirely for a simpler version with fewer moving parts.
Both versions work. One is cleaner. One is extra cute.
I am rarely known for choosing less cute.
One Project, Plenty of Occasions
Although I made this version for Christmas, the pop-up gift bag design can be adapted for many occasions.
- Birthday paper with a favourite-store gift card
- Coffee-themed supplies with a café gift card
- Graduation colours with cash or a gift card
- Floral paper for Mother’s Day
- Wedding colours with a restaurant gift card
- Thank-you paper with a small treat or note
Once you understand the structure, you can change the paper, colours and decoration without reinventing the whole project. That’s the goal: not simply copying one finished card, but understanding the idea well enough to make it work for your occasion and the supplies you already enjoy using in your craft space.
Shop the Supplies I Used
Everything pictured in this project, linked straight to my Stampin’ Up! store.
- Pretty Poinsettia Bundle
- A Stitched Season DSP
- Real Red Cardstock
- Basic White Cardstock
- Garden Green Cardstock
- Barely Blush Cardstock
- Gold Foil Sheets
- Baker’s Twine Essentials Pack
- Tear & Tape Adhesive
- Multipurpose Liquid Glue
- Paper Trimmer
- Bone Folder
- Detail Scissors
- 2″ Circle Punch
- 2-3/8″ Circle Punch
Pop-Up Gift Bag Card: Quick Questions
What size gift card fits inside?
Standard gift cards — like a Tim Hortons or Starbucks card — fit easily, with room for a folded note tucked in beside it.
Do I need special tools to make this?
Just your usual card making basics: cardstock, adhesive, a scoring tool and a paper trimmer. No specialty punches or dies required.
Can I make it without the pop-up mechanism?
Yes. Skip the internal scoring and simply tuck a flat paper bag inside the card for an easier, beginner-friendly version.
Can I use this for occasions besides Christmas?
Definitely — swap the paper and it works for birthdays, graduations, weddings, Mother’s Day and thank-you gifts.
Where do I get the full instructions?
The measurements, scoring guide, cutting template and assembly photos are in the free printable tutorial, included when you join the newsletter above.
Ready to Make One (or Six)?
Get This Tutorial
Free printable PDF with measurements, scoring guide, cutting template and photos — in this week’s newsletter.
Join the NewsletterJoin July’s Class
The Pretty Poinsettia Christmas Card Experience — Saturday, July 25. In-person, Craft-at-Home, or Digital from anywhere.
See Class Options